
Step-by-Step DIY: Installing a Stone Countertop


Introduction to DIY Stone Countertops
Transforming your kitchen or bathroom with a stone countertop can elevate the aesthetic and functionality of the space. While it may seem daunting, installing a stone countertop yourself is a rewarding project that combines craftsmanship with personal style. In this guide, we'll walk you through each step of the process.

Gathering Your Materials
Before you begin, ensure you have all the necessary tools and materials. You will need the stone slab, a circular saw with a diamond blade, a level, measuring tape, and safety gear such as gloves and goggles. Don't forget adhesive and sealant, which are essential for a secure and lasting installation.
- Stone slab
- Circular saw with diamond blade
- Level and measuring tape
- Adhesive and sealant
- Safety gear
Measuring and Cutting the Stone
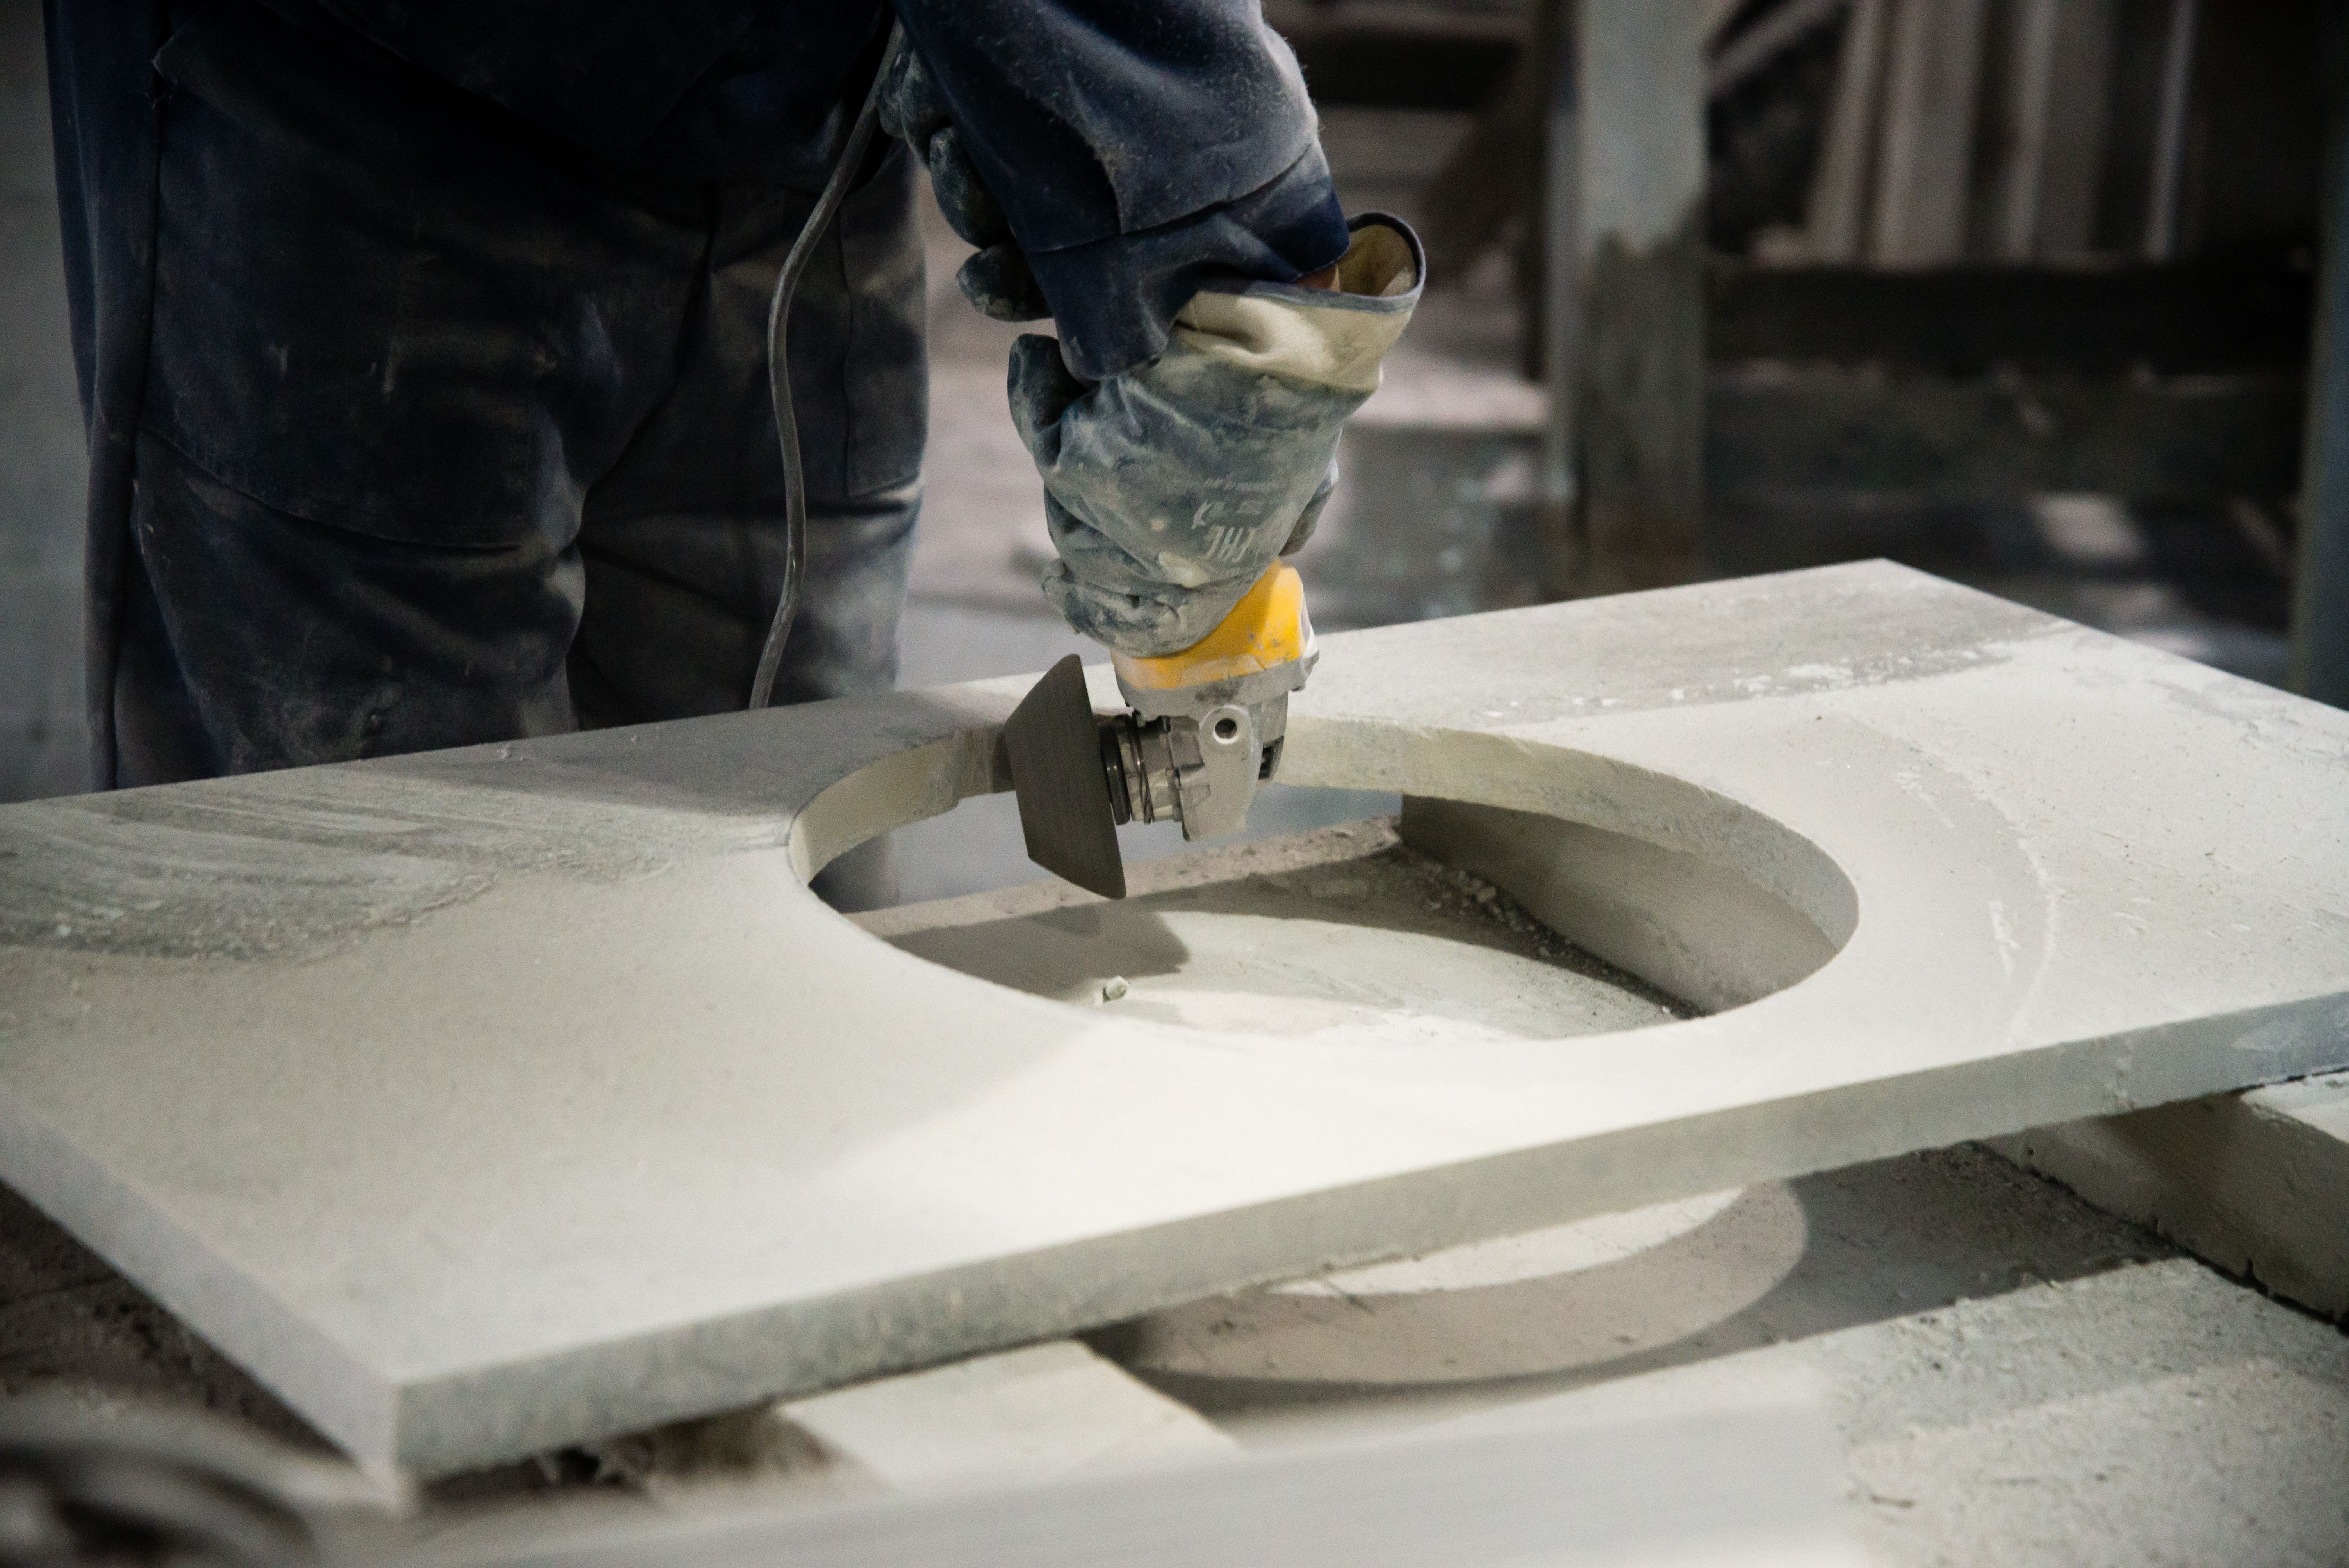
Accurate measurements are critical when installing a stone countertop. Measure the area twice to ensure precision. Once you have your measurements, mark the stone slab accordingly. Use a circular saw with a diamond blade to make clean cuts. This step requires patience and attention to detail.
Preparing the Base
Before placing the stone slab, ensure that the base cabinets are level and sturdy. Adjust the cabinets if needed, as an uneven base can lead to a cracked countertop. Use shims to level the base, and ensure that it can support the weight of the stone slab.
Placing the Stone Countertop
With the base prepared, it's time to carefully place the stone slab. You may need assistance for this step due to the weight of the stone. Position the slab on the base, ensuring it aligns perfectly with the edges. Make adjustments as necessary to achieve a precise fit.

Securing and Sealing
Once the stone is in place, apply a suitable adhesive to secure it. Follow the manufacturer's instructions for the best results. After securing the stone, apply a sealant to protect the surface from stains and moisture. Sealing is an essential step that enhances the durability and appearance of your countertop.
Final Touches and Maintenance
After installation, take a moment to admire your handiwork. Consider any final touches, such as adding a backsplash or edging. To maintain your stone countertop, clean it regularly with a mild detergent and avoid harsh chemicals. Re-seal the surface periodically to keep it looking new.

Conclusion
Installing a stone countertop is a challenging yet fulfilling DIY project that adds significant value to your home. By following these steps, you can achieve a professional-looking result that reflects your personal taste and enhances your living space. Enjoy your new countertop and the satisfaction of a job well done!