
How to Install a Stone Countertop: A Step-by-Step DIY Guide


Installing a stone countertop can be a rewarding DIY project that transforms your kitchen or bathroom. With the right tools and preparation, you can achieve a professional look without the hefty price tag. This step-by-step guide will walk you through the process of installing your own stone countertop.
Gather Your Materials
Before you begin, ensure you have all necessary materials and tools. You'll need the stone countertop slab, a tape measure, a circular saw with a diamond blade, a level, adhesive, and a sealant. Safety gear such as gloves and goggles are also essential.
Additionally, you might need a helper to manage the heavy lifting and positioning of the stone slab. Proper preparation is crucial to avoid delays and mishaps.
Measure and Cut
Start by measuring the area where the countertop will be installed. Make sure to account for sinks, faucets, and any appliances. Transfer these measurements to the stone slab and mark them clearly.
Using a circular saw with a diamond blade, carefully cut the stone to size. Remember to wear safety gear and work slowly to ensure precise cuts. It’s often helpful to have someone assist with holding the slab steady.
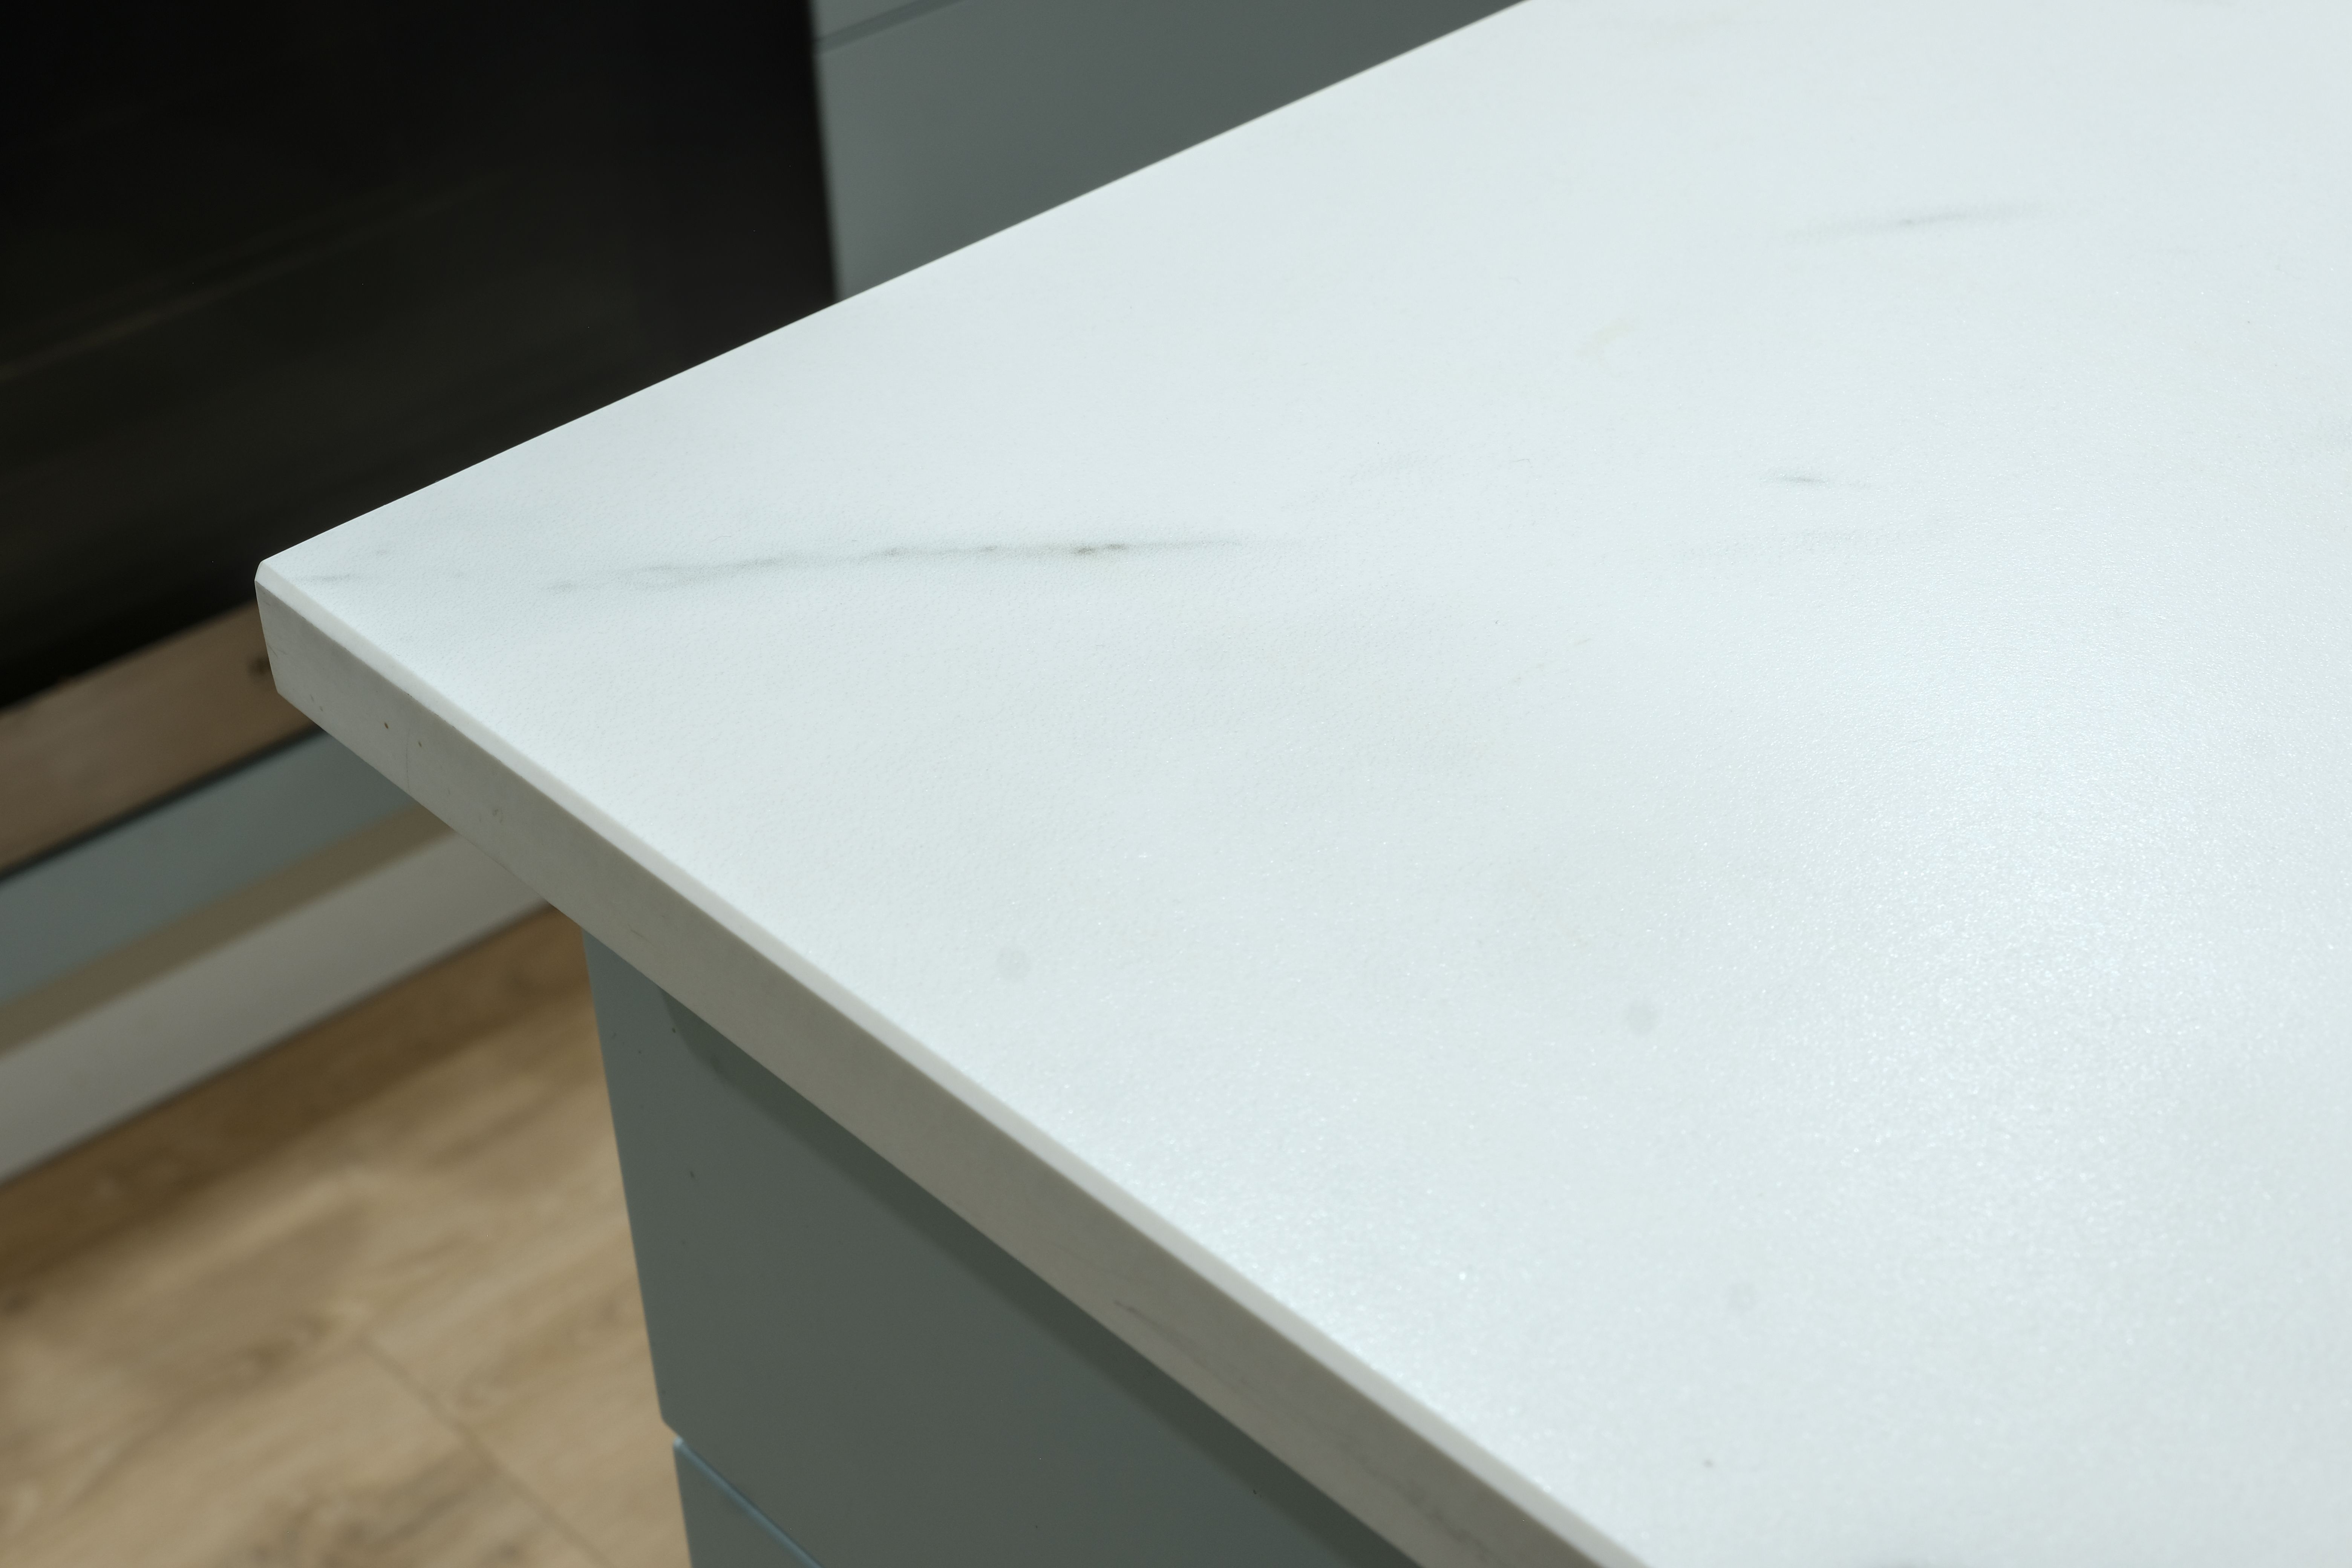
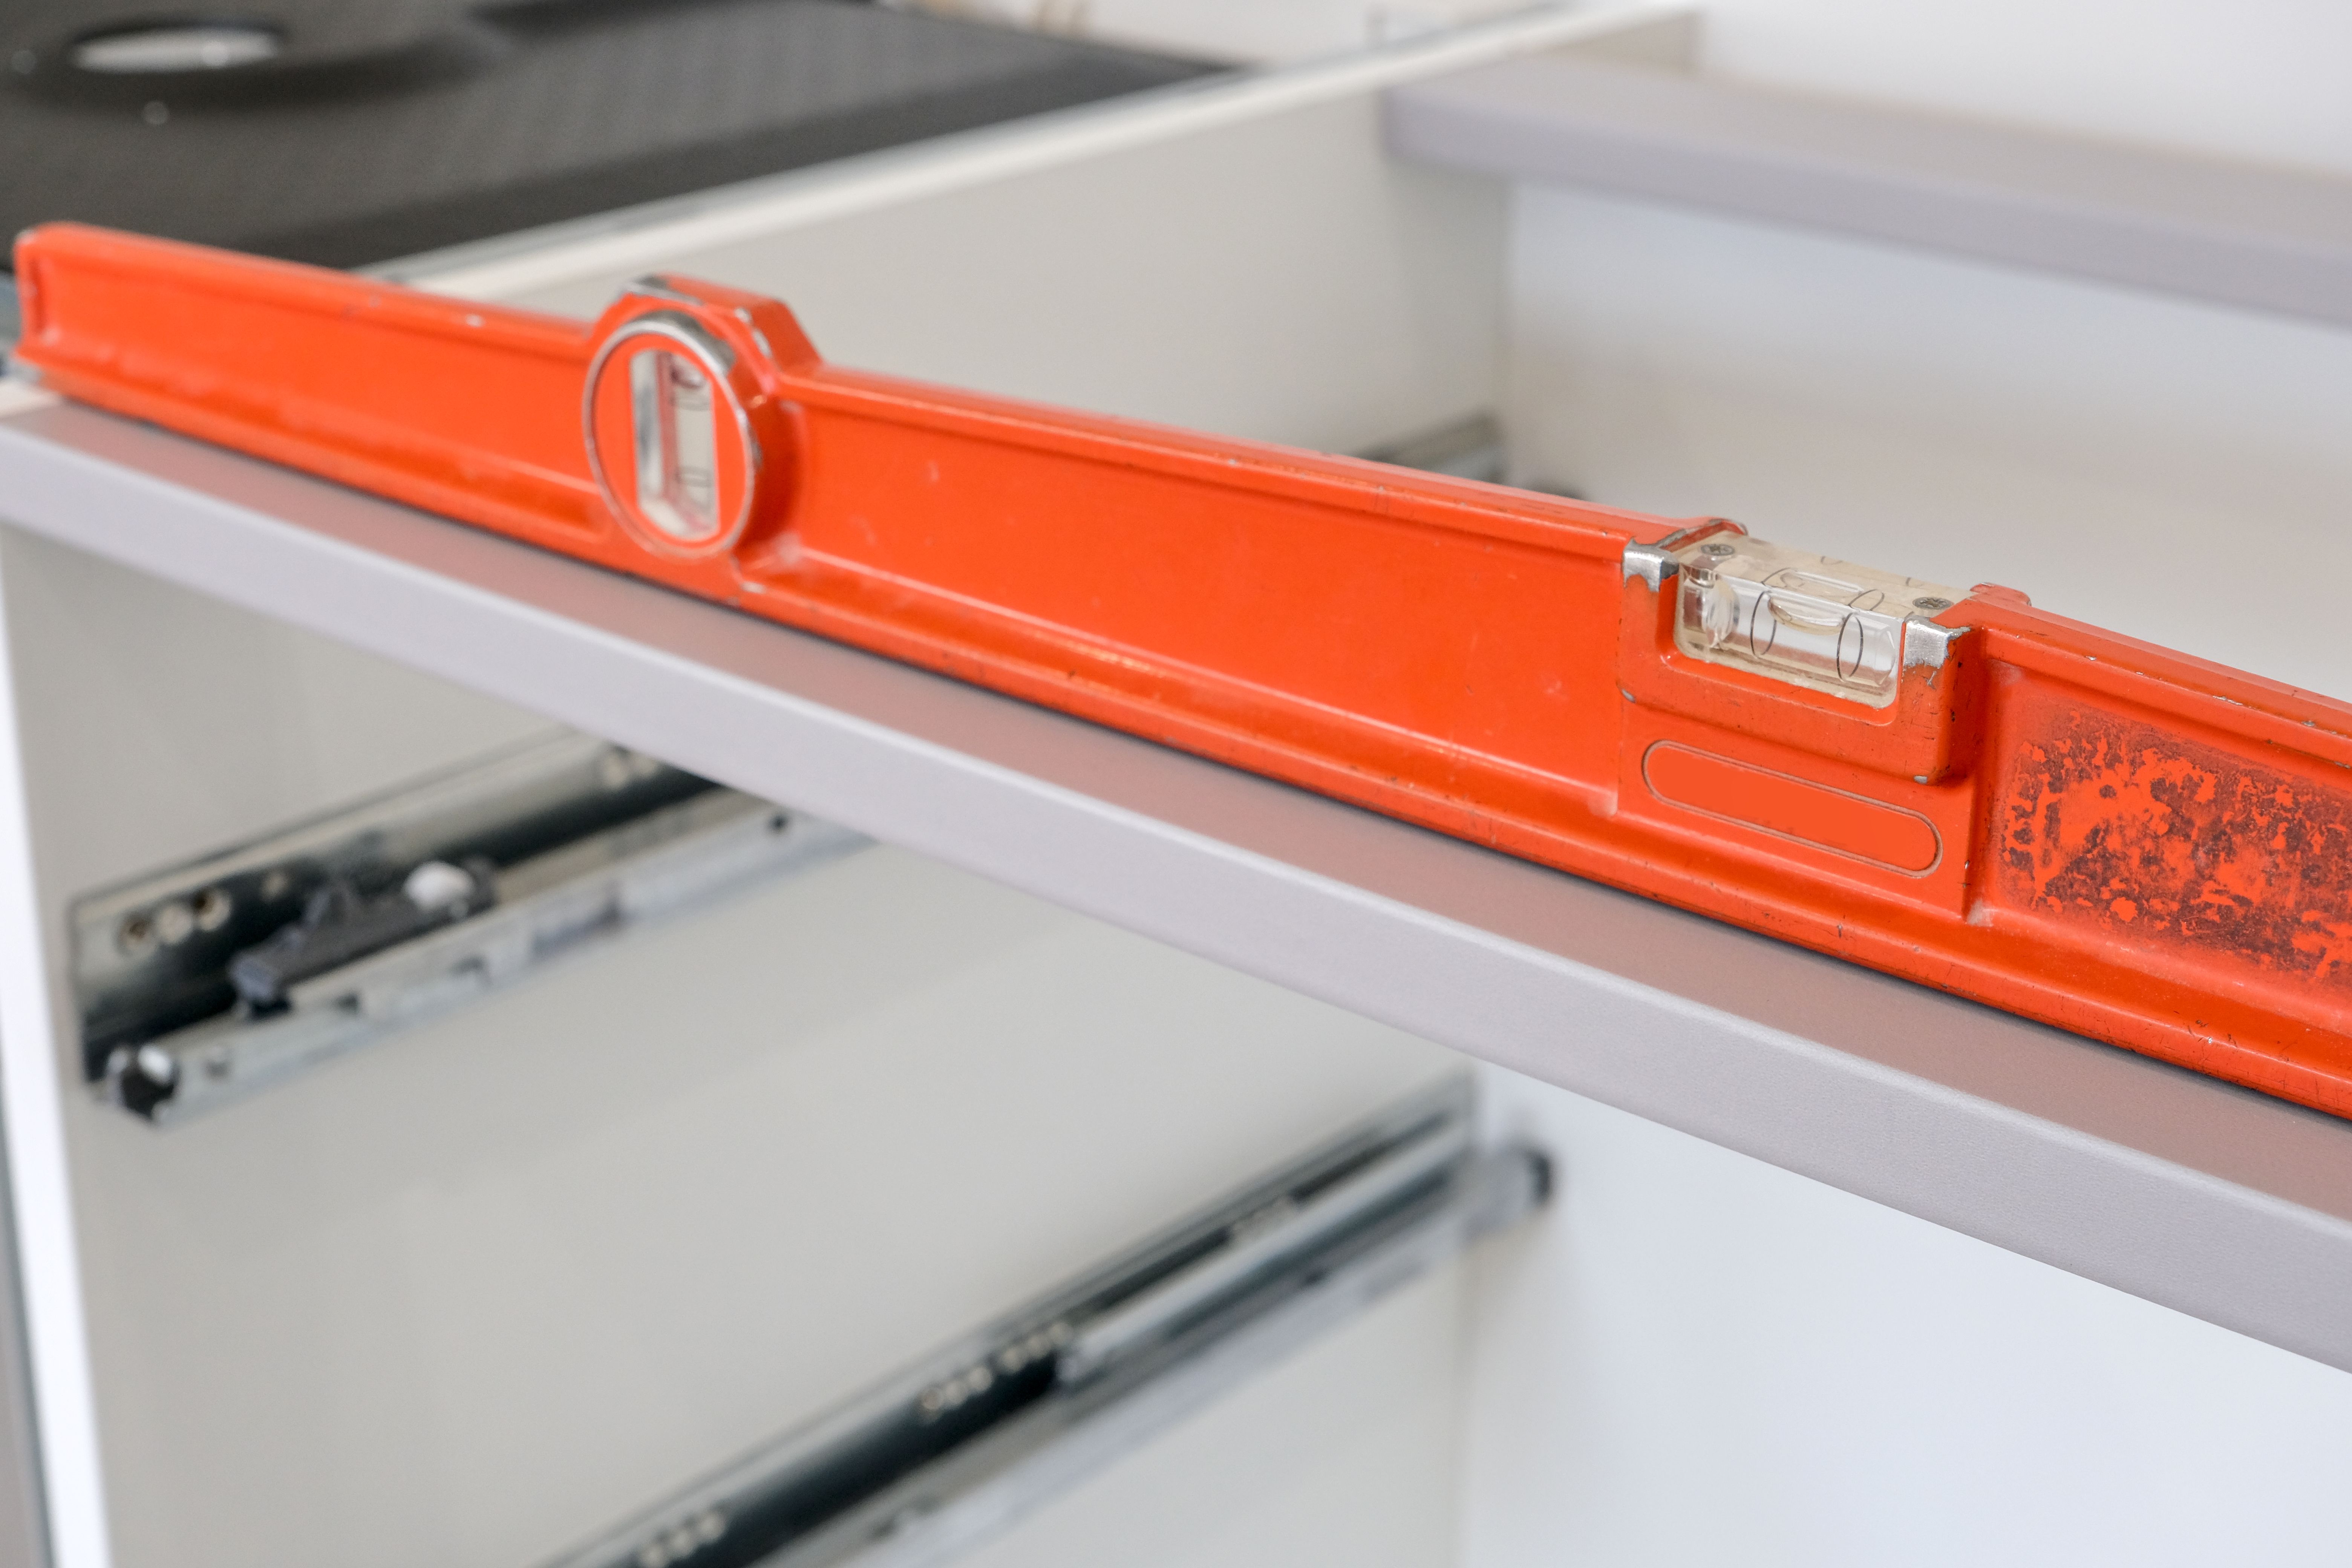
Prepare the Base
With the stone cut to size, prepare the cabinet base. Ensure it is level and structurally sound to support the weight of the stone. Use shims if necessary to adjust the height and create a level surface.
Once the base is ready, apply a layer of adhesive to help secure the countertop. Use a notched trowel to spread the adhesive evenly across the surface.
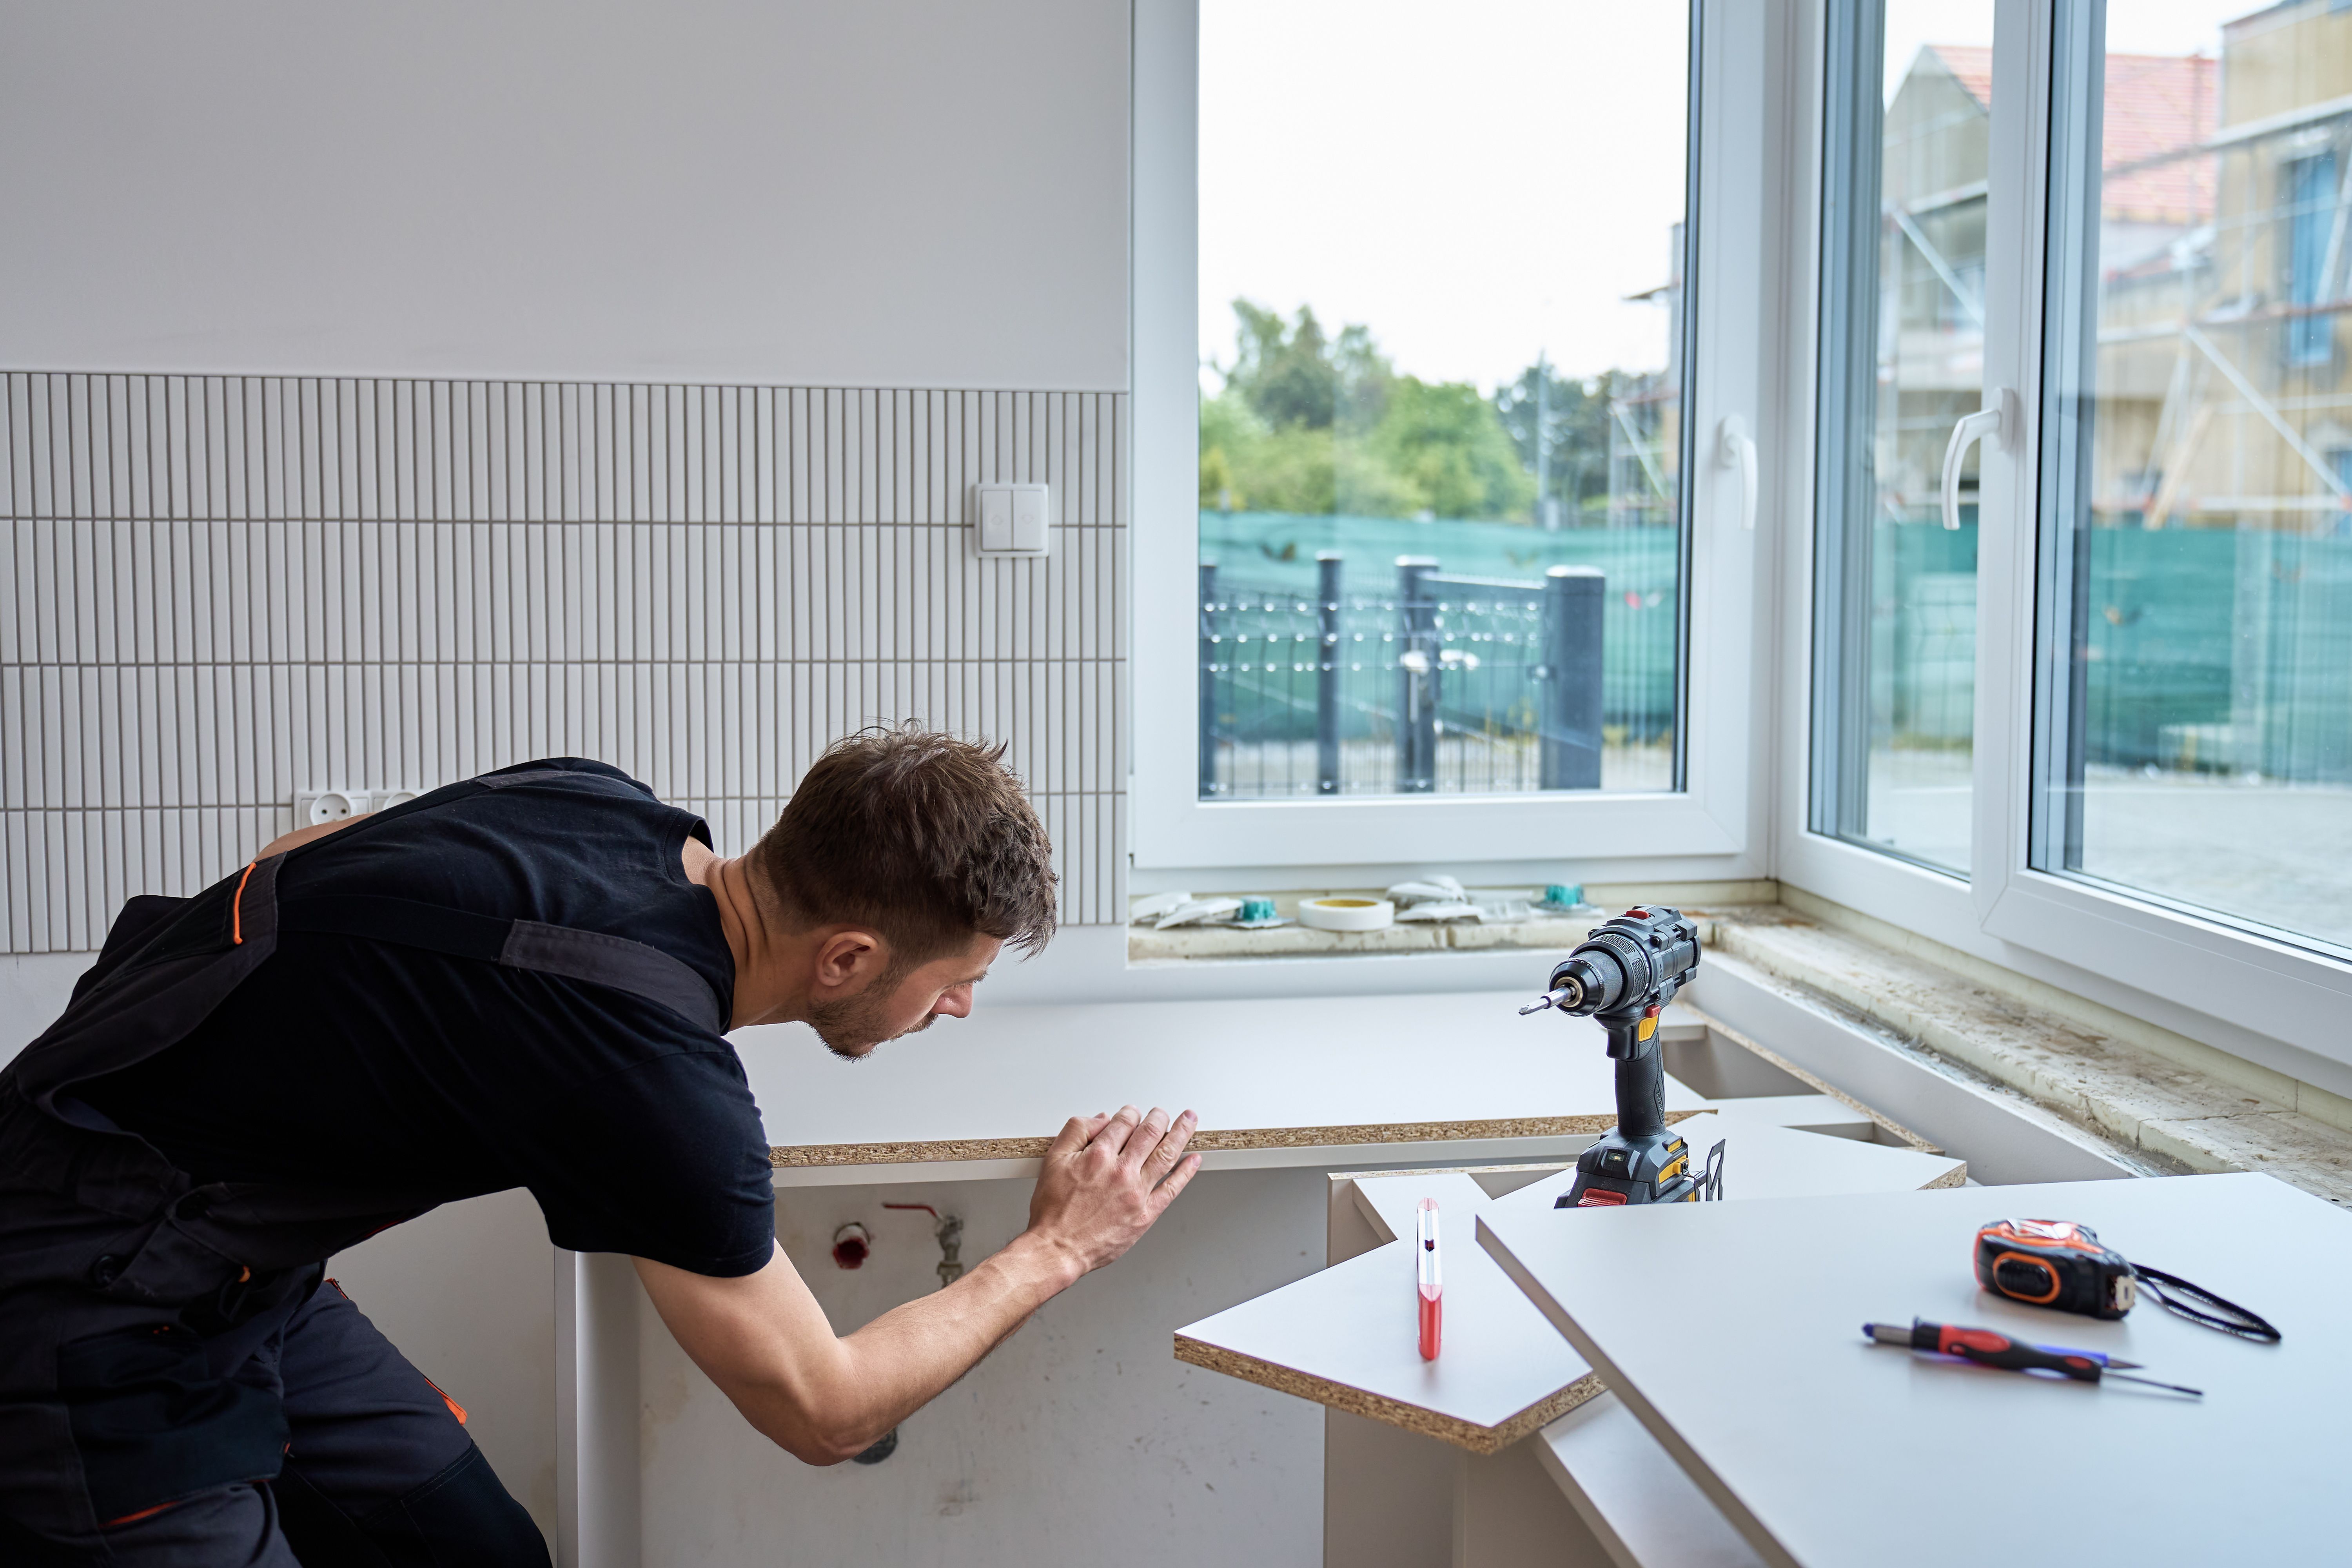
Install the Countertop
Carefully position the stone slab onto the cabinet base. It’s advisable to have at least one other person assist with this step to prevent damage or injury. Align the slab with the edges of the cabinet, ensuring it is perfectly placed.
Press down firmly to ensure the adhesive bonds well, and check with a level to confirm the countertop is even. Make any necessary adjustments quickly before the adhesive sets.
Seal the Stone
Once the countertop is securely in place, it’s time to apply a sealant. This step is vital to protect the stone from stains and moisture. Follow the manufacturer's instructions for the best results.
Apply the sealant evenly across the surface, allowing it to penetrate the stone. It may take several hours to dry, so plan accordingly and avoid using the countertop during this time.
Finishing Touches
After the sealant has dried, install any additional components such as sinks, faucets, or backsplashes. Ensure all fixtures are secure and check for any gaps or uneven areas that might need attention.
Finally, clean the countertop with a gentle stone cleaner to remove any dust or residue. Your new stone countertop is now ready to use, adding both beauty and value to your home.