
DIY Stone Countertop Installation: What You Need to Know Before You Start


Understanding the Basics of DIY Stone Countertop Installation
Installing a stone countertop can dramatically enhance the aesthetics and value of your kitchen or bathroom. While it's a rewarding DIY project, it requires meticulous planning and execution. Before diving in, it's crucial to understand the fundamentals of working with materials like granite, marble, or quartz.
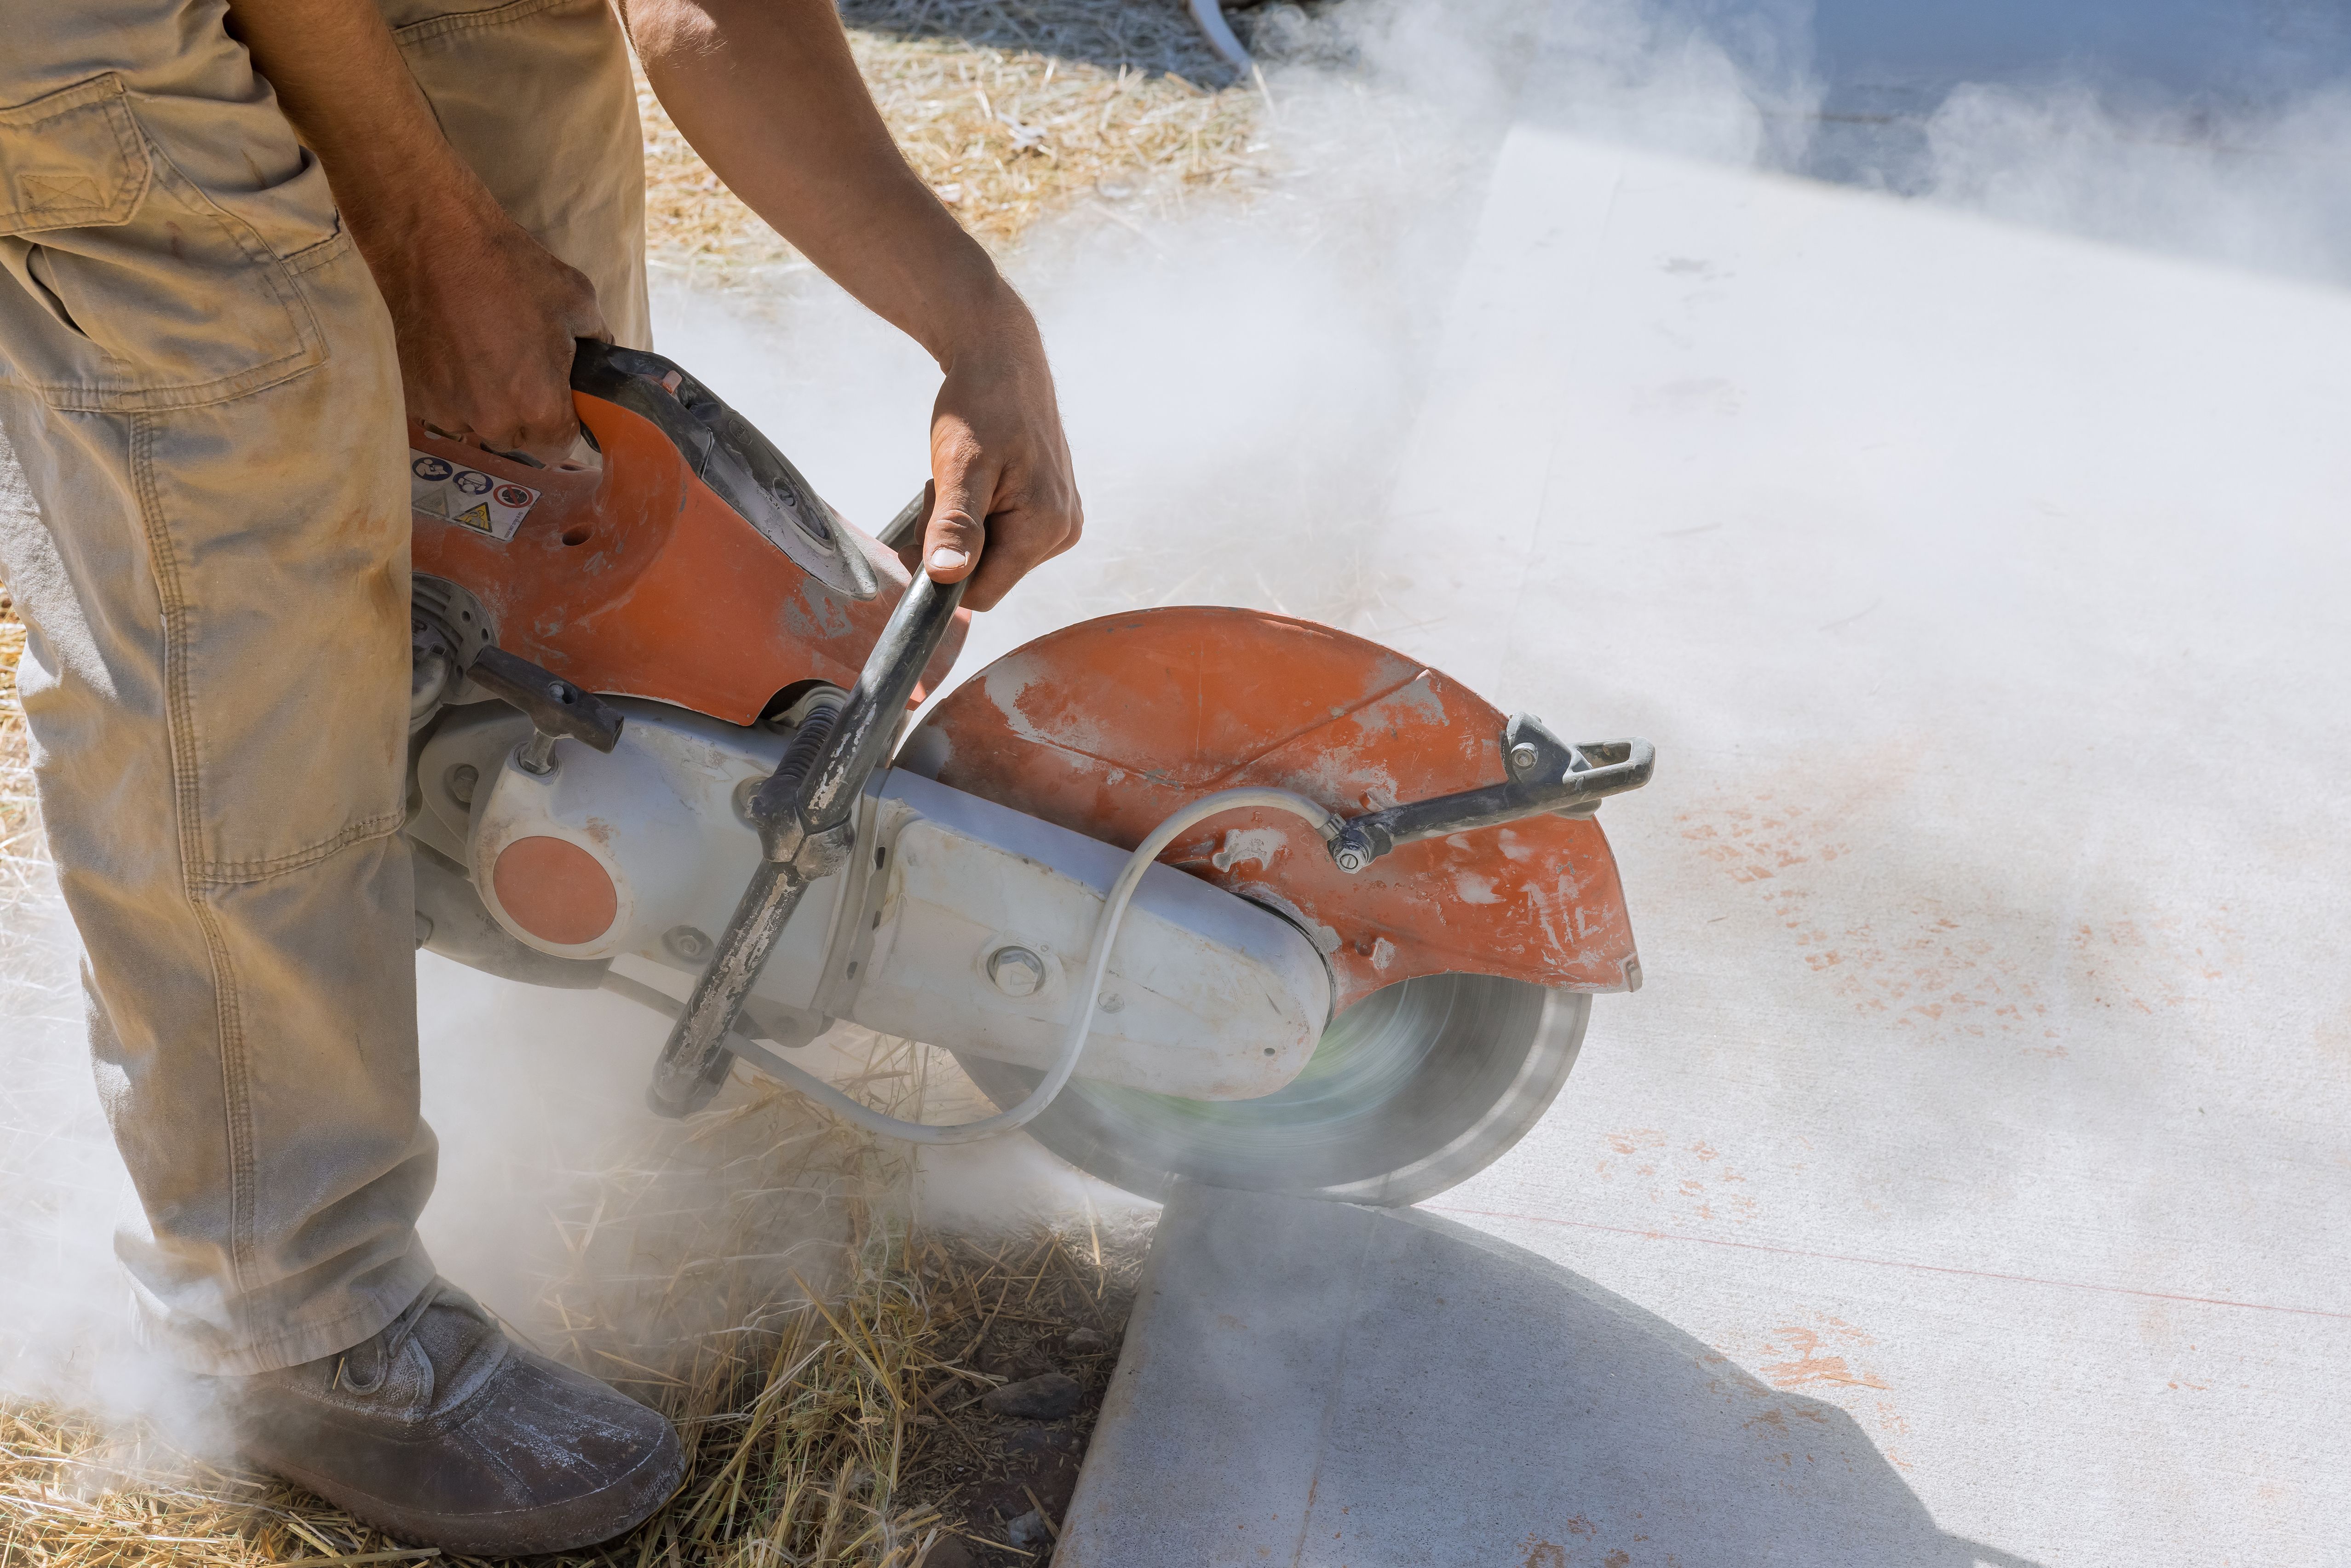
Stone countertops are heavy and require precise cutting and fitting. Therefore, having the right tools and materials is essential. You'll need a wet saw with a diamond blade, measuring tape, level, adhesive, and a sealant designed for stone. Additionally, having a helper can make the process significantly smoother.
Preparing Your Workspace
Before starting the installation, ensure your workspace is ready. Remove any old countertops and thoroughly clean the area. It's vital to have a stable and level surface on which your new stone countertop will sit. Check for any discrepancies in the cabinetry below as these can affect the fit of the stone.
Once your space is prepared, make sure you have accurate measurements. Precision is key when cutting stone. An error of even a few millimeters can result in an uneven or ill-fitting countertop. Double-check your measurements and plan your cuts carefully before proceeding.
Cutting and Fitting the Stone
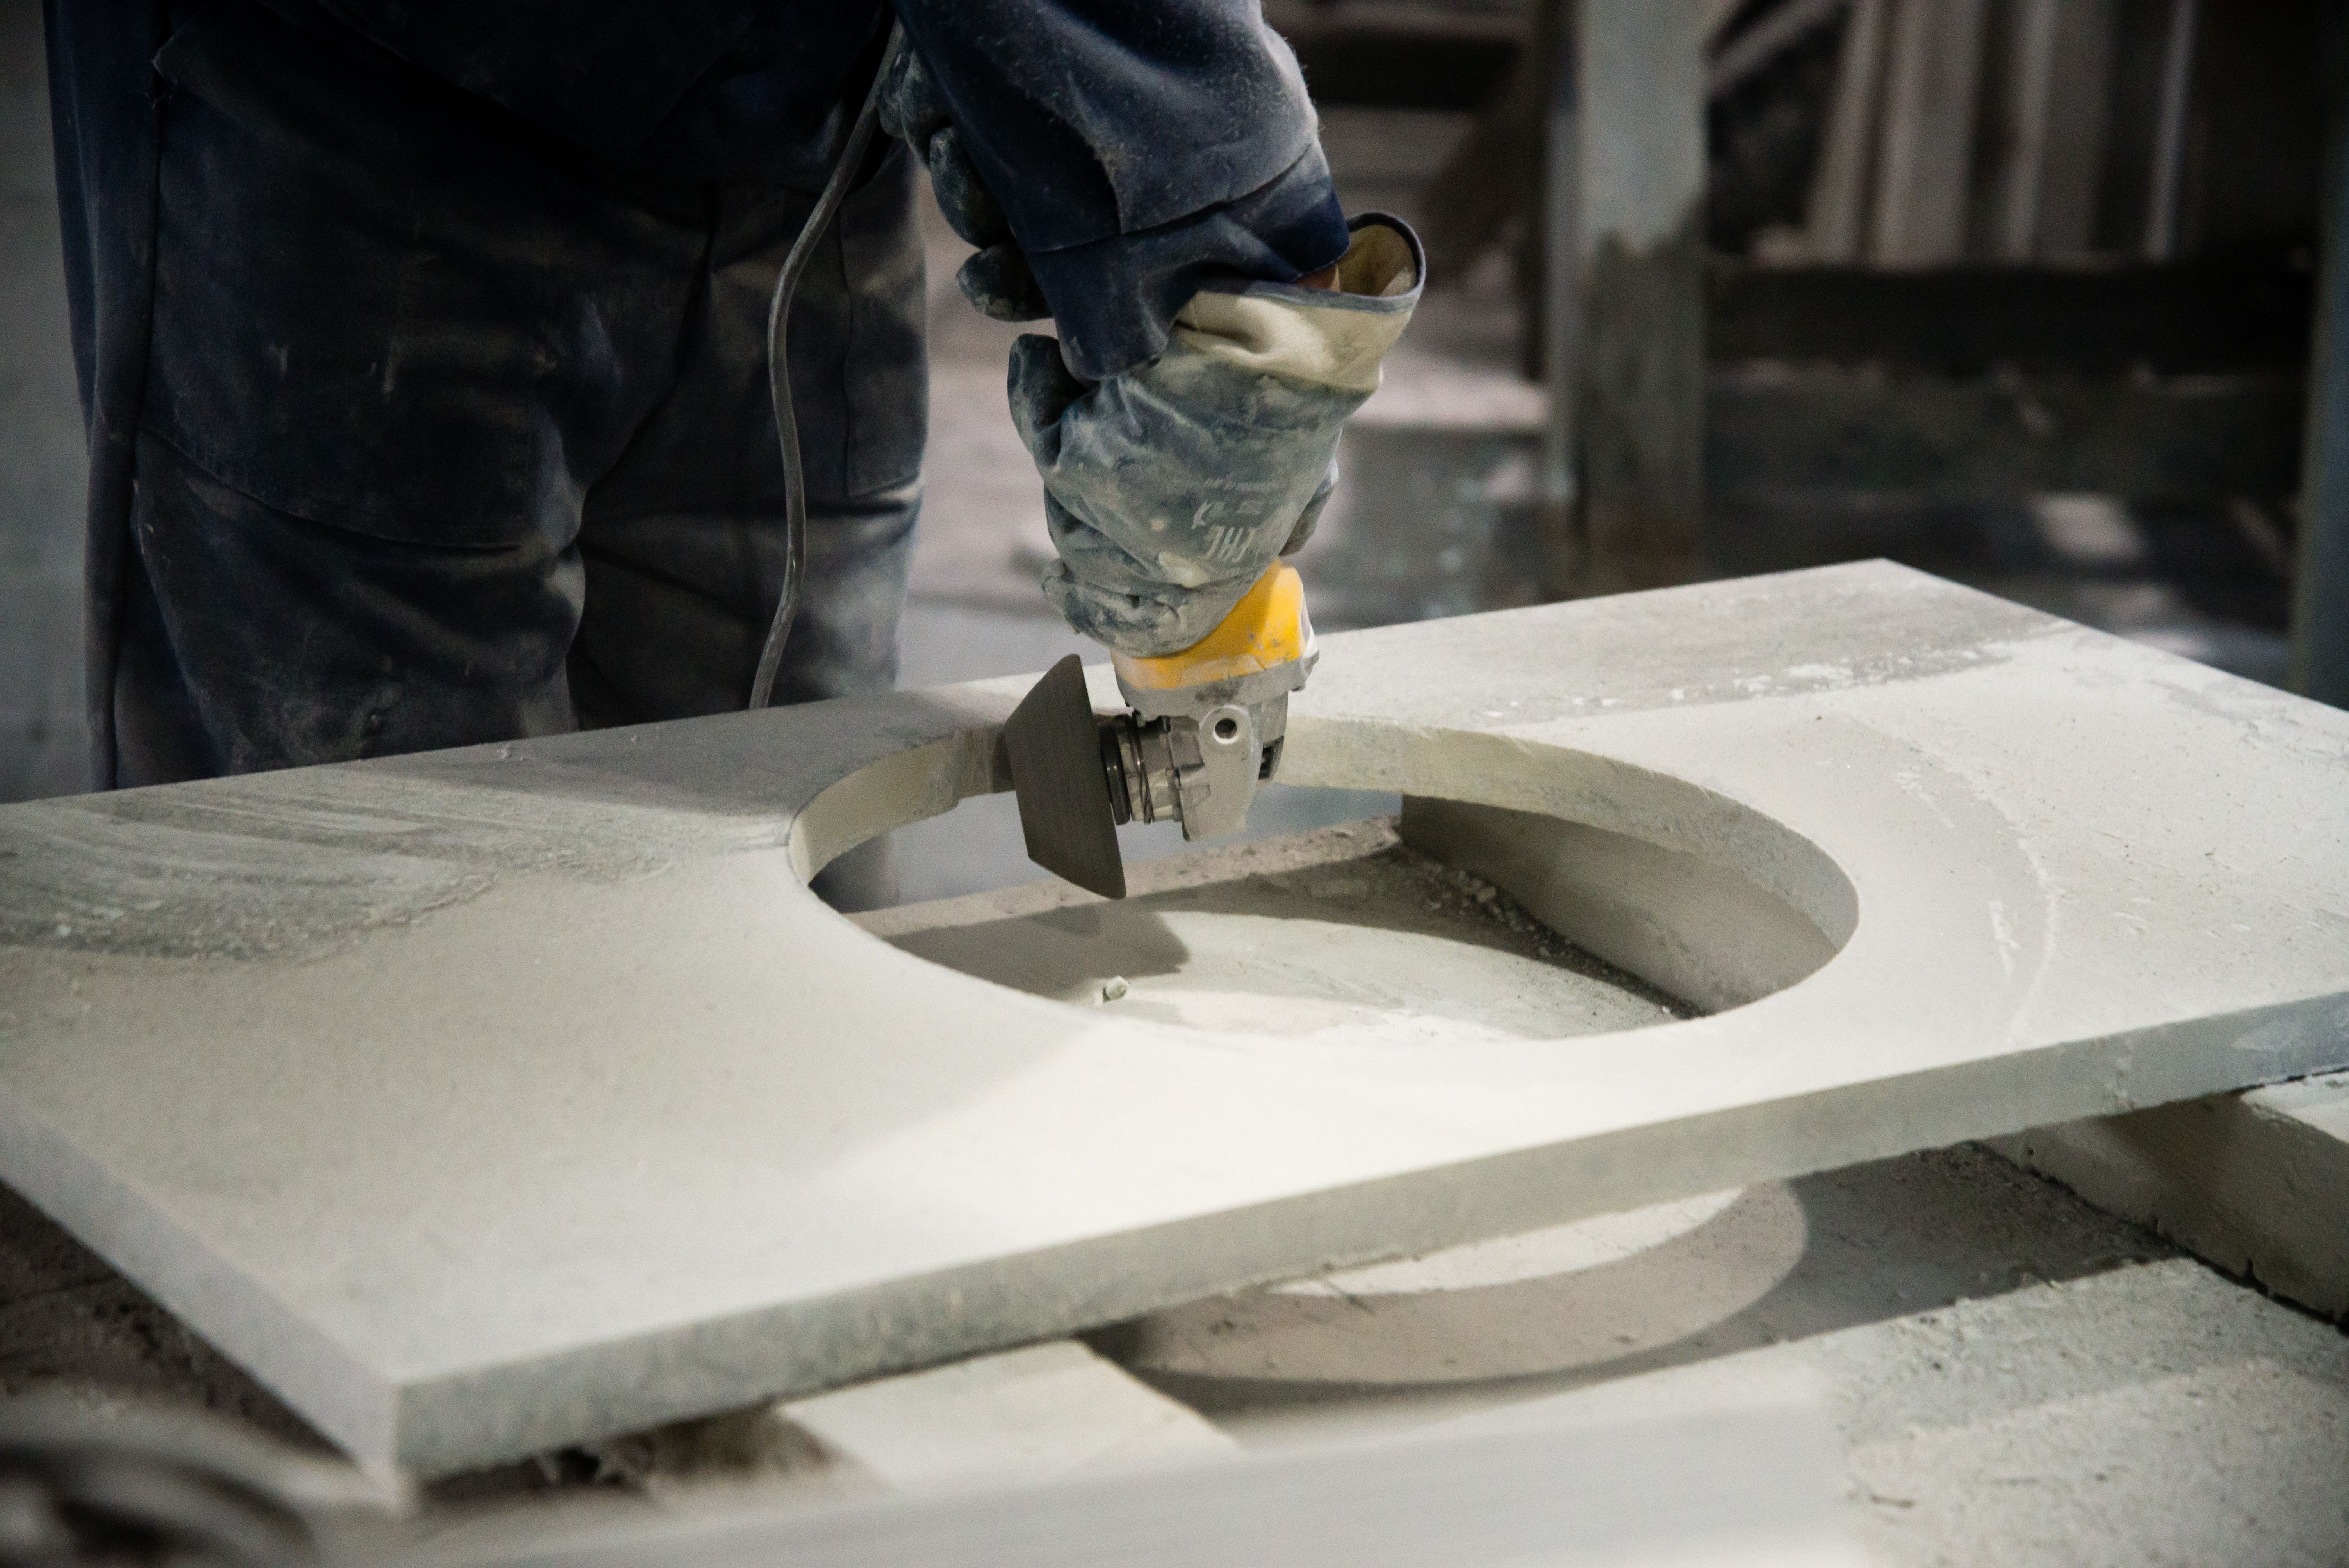
With your measurements in hand, it's time to cut the stone. Using a wet saw with a diamond blade is essential for clean and precise cuts. Always wear protective gear, such as goggles and gloves, to prevent injuries from dust and debris.
After cutting, test fit each piece to ensure it fits perfectly. Make adjustments as needed before adhering the stone to the cabinets. Proper fitting is crucial to avoid gaps and ensure a seamless look.
Adhering and Sealing Your Countertop
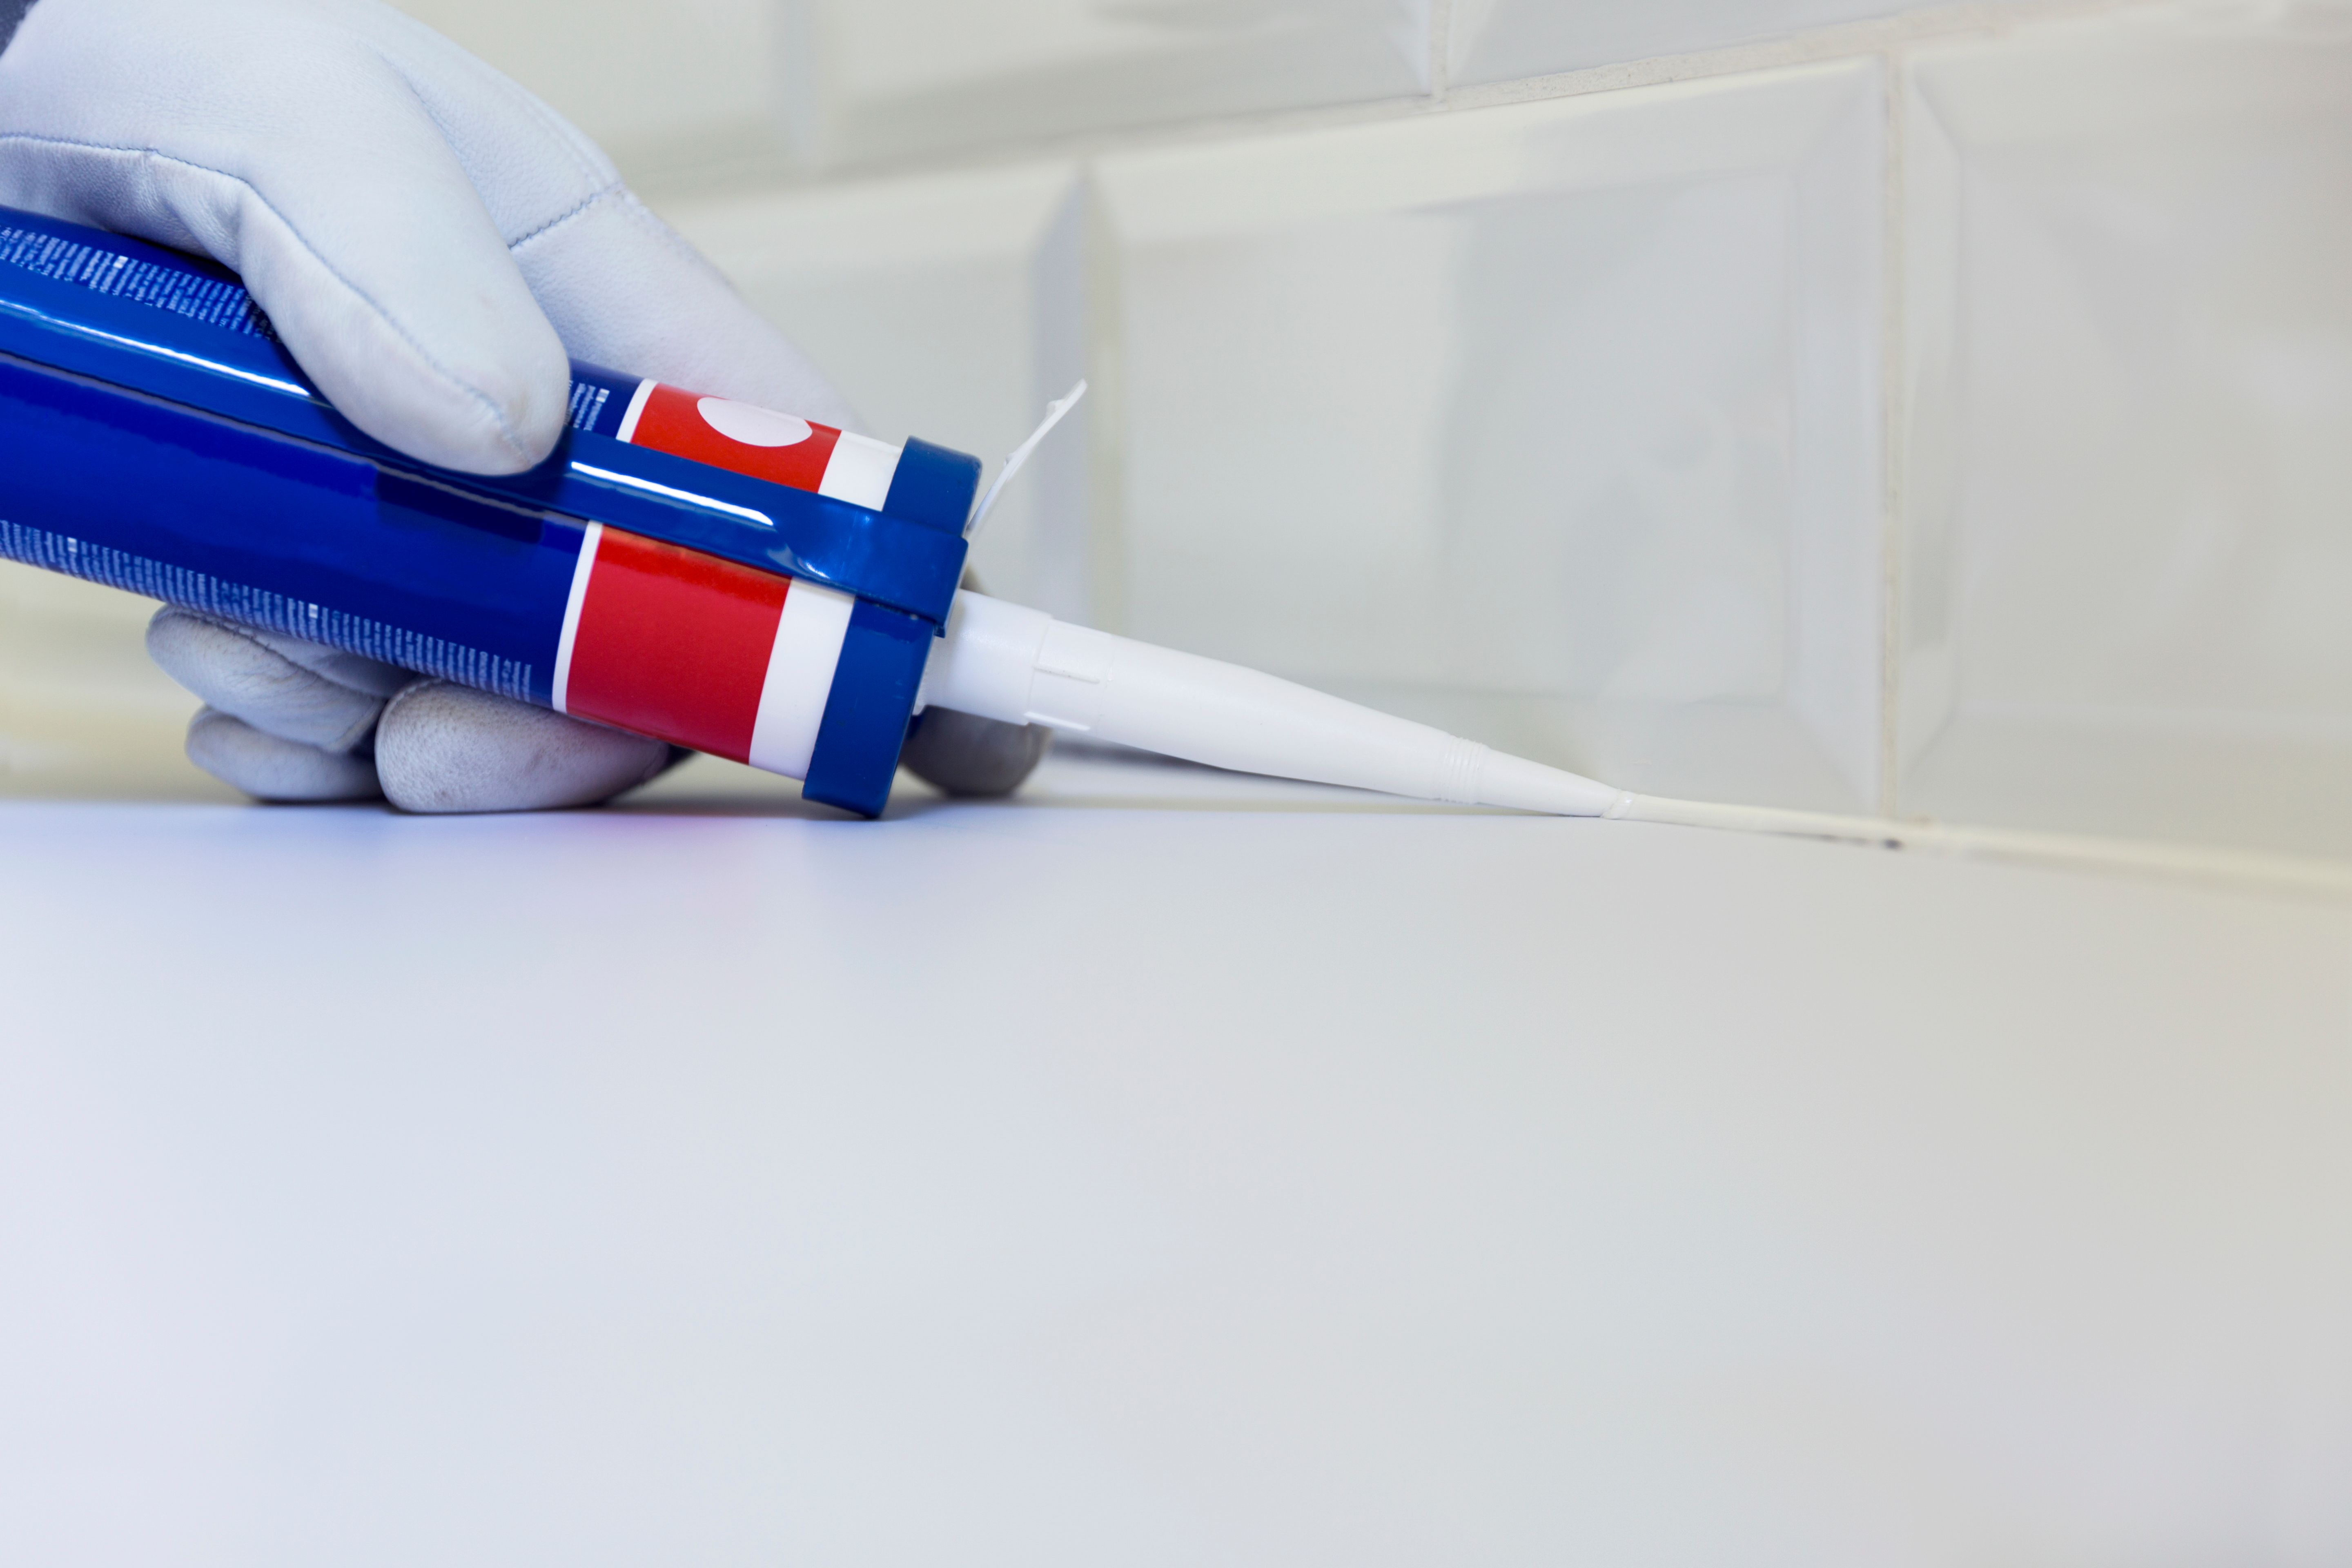
Once you're satisfied with the fit, it's time to adhere the stone to the cabinetry. Use a high-quality adhesive specifically designed for stone applications. Apply it evenly across the surface to ensure a strong bond.
After setting the countertop in place, allow it to cure for the recommended time specified by the adhesive manufacturer. Once cured, apply a sealant to protect the stone from stains and damage. Sealing is an essential step that enhances durability and maintains the stone's natural beauty over time.
Final Touches and Maintenance
After installation, add any final touches such as backsplashes or edge detailing. These elements can add character and complete the look of your new countertop. Ensure everything is securely attached and aligned properly.
Maintaining your stone countertop is crucial for longevity. Regularly clean with non-abrasive cleaners to preserve its finish. Reapply sealant as needed to keep it protected from spills and stains. With proper care, your stone countertop will remain stunning for years to come.