DIY Stone Countertop Installation: What You Need to Know


Understanding the Basics of Stone Countertops
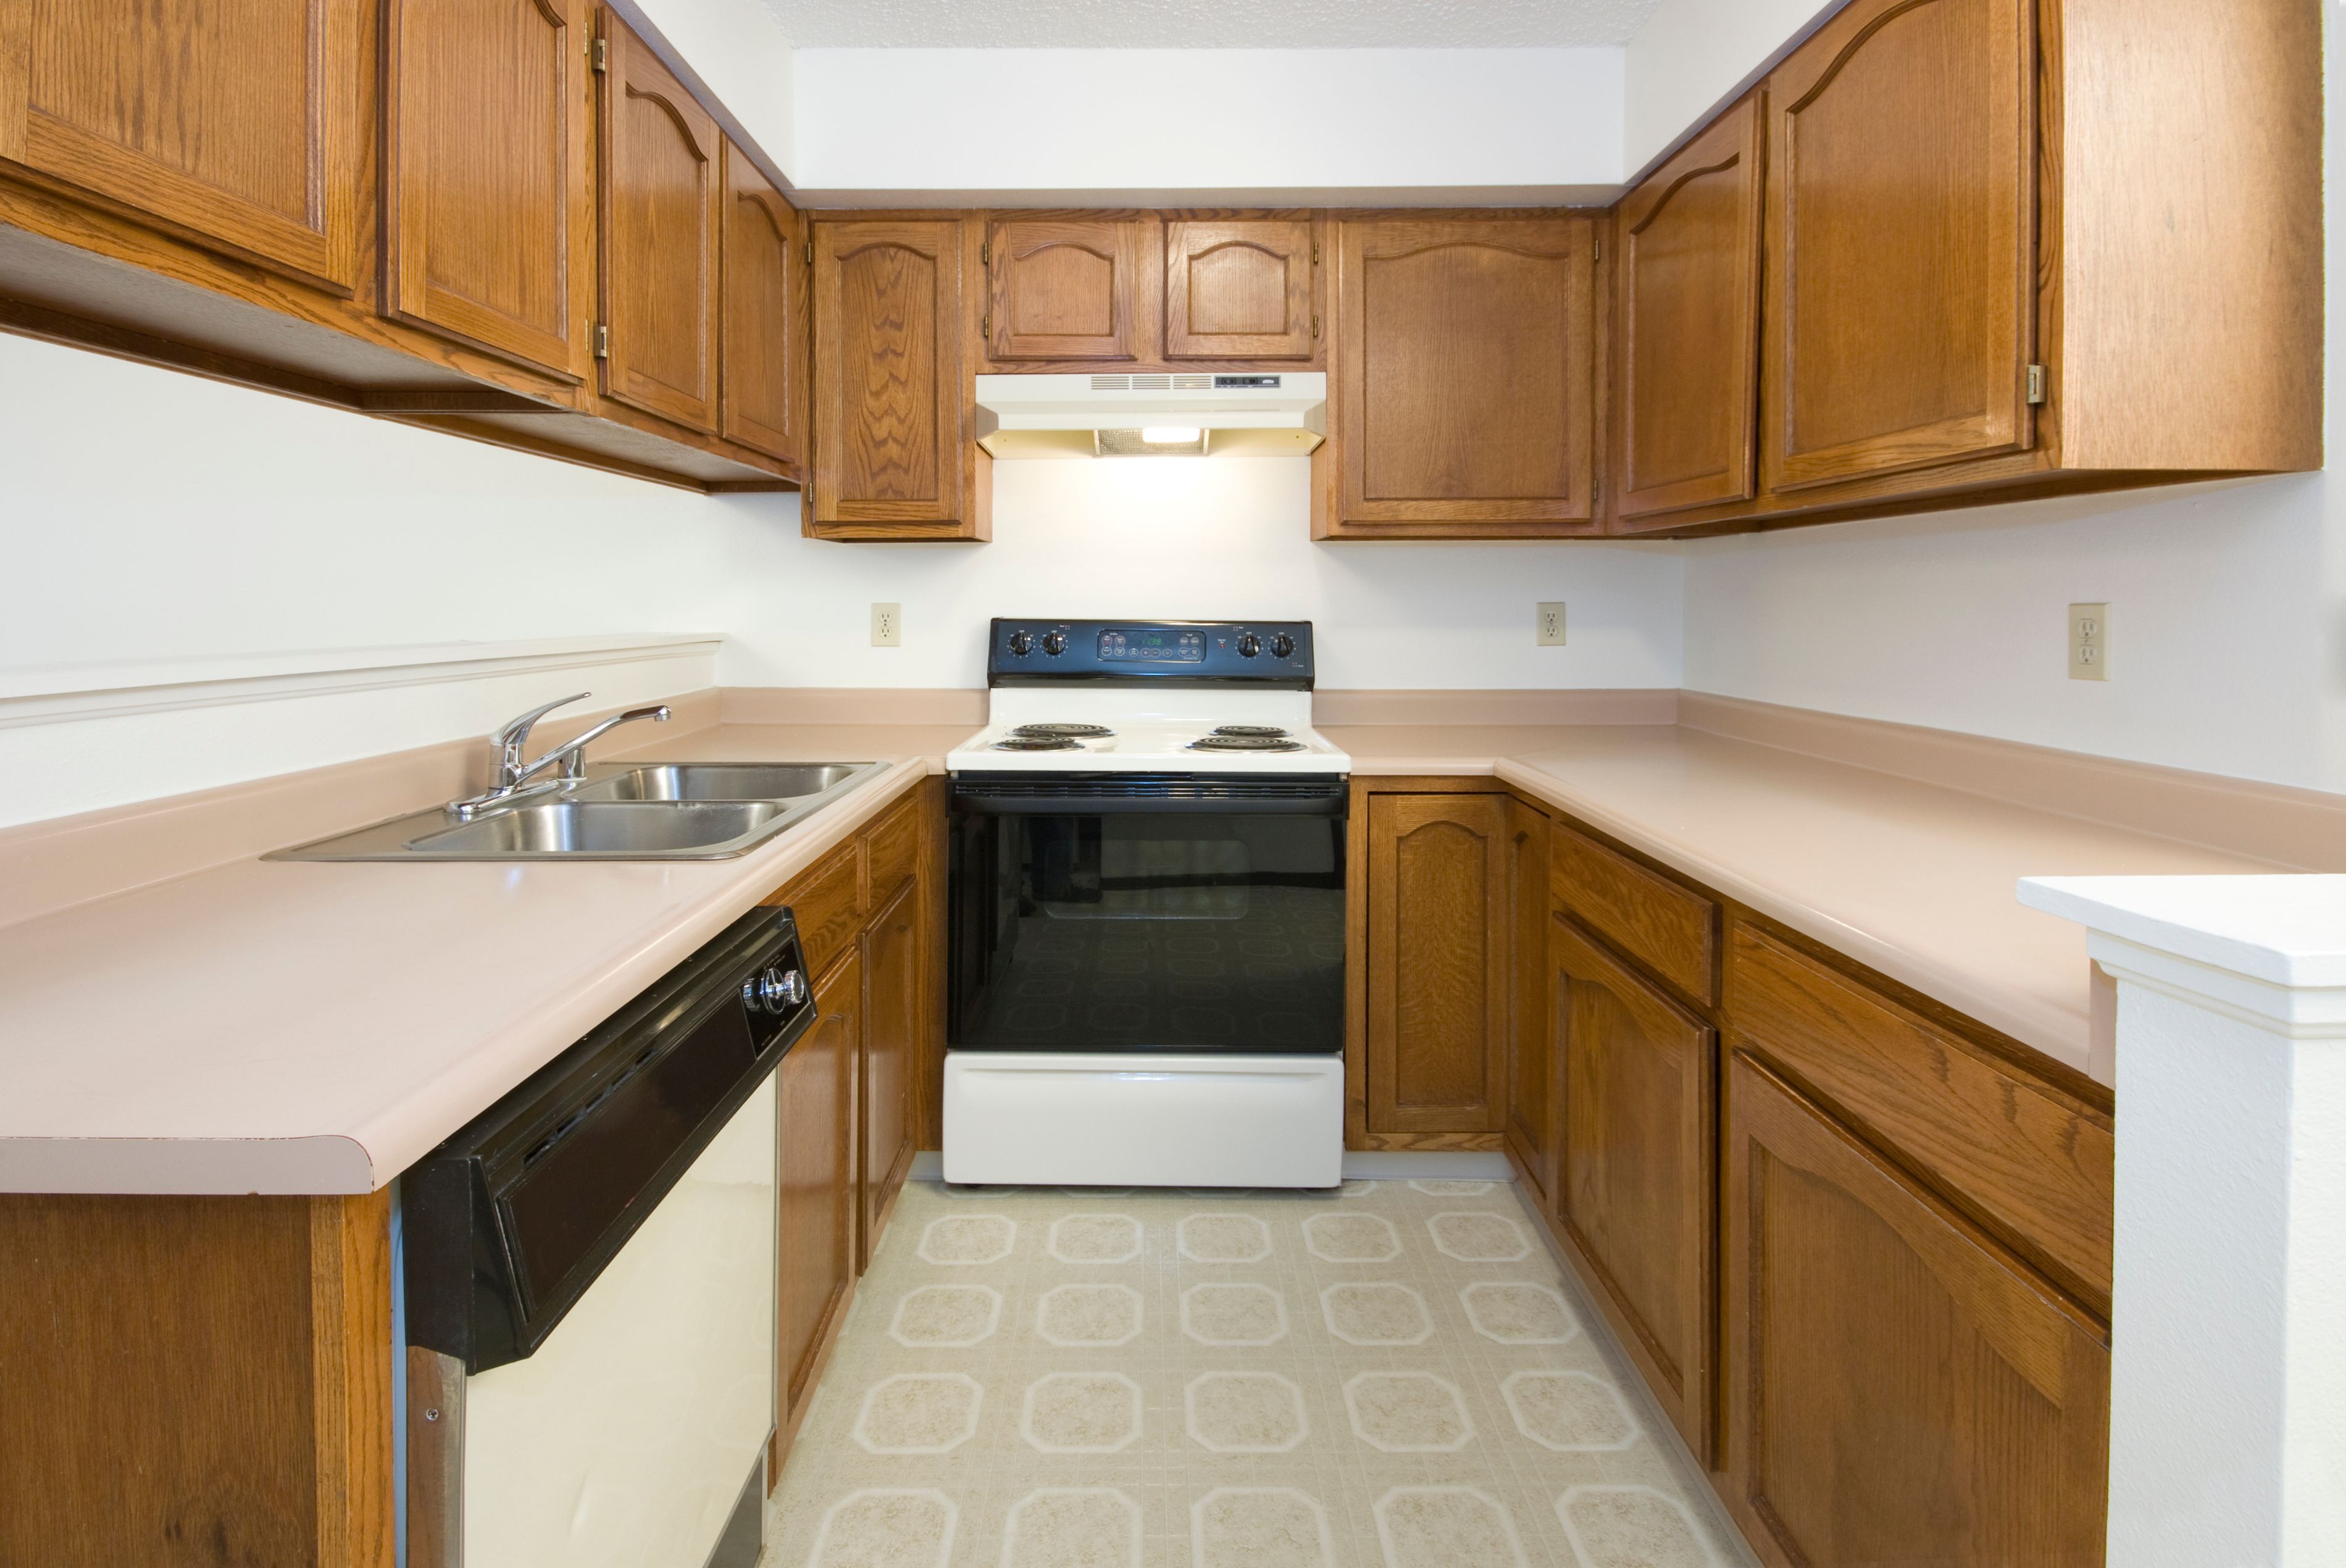
Stone countertops have gained immense popularity due to their durability and natural beauty. Whether you choose granite, marble, or quartz, each type of stone brings a unique aesthetic to your kitchen or bathroom. Before diving into a DIY installation, it's crucial to understand the characteristics of each stone type and select one that suits both your style and functional needs.
Granite is well-known for its toughness and resistance to scratches and heat, making it a popular choice for kitchens. Marble offers a classic and elegant look but requires more maintenance to prevent staining. Quartz, engineered from natural quartz crystals, offers a non-porous surface that resists stains and does not require sealing.

Gathering the Necessary Tools and Materials
Before starting your installation, ensure you have all the required tools and materials. Here's a checklist to get you started:
- Measuring tape
- Level
- Circular saw with a diamond blade
- Adhesive or epoxy
- Safety gear (gloves, goggles)
- Sealer (if required by the stone type)
Having these tools at your disposal will make your DIY project smoother and help avoid any last-minute trips to the hardware store.
Measuring and Cutting Stone
The first critical step in the installation process is accurate measurement. Measure the dimensions of your cabinets and cutouts for sinks or other fixtures precisely. Double-check your measurements to ensure the stone will fit perfectly.
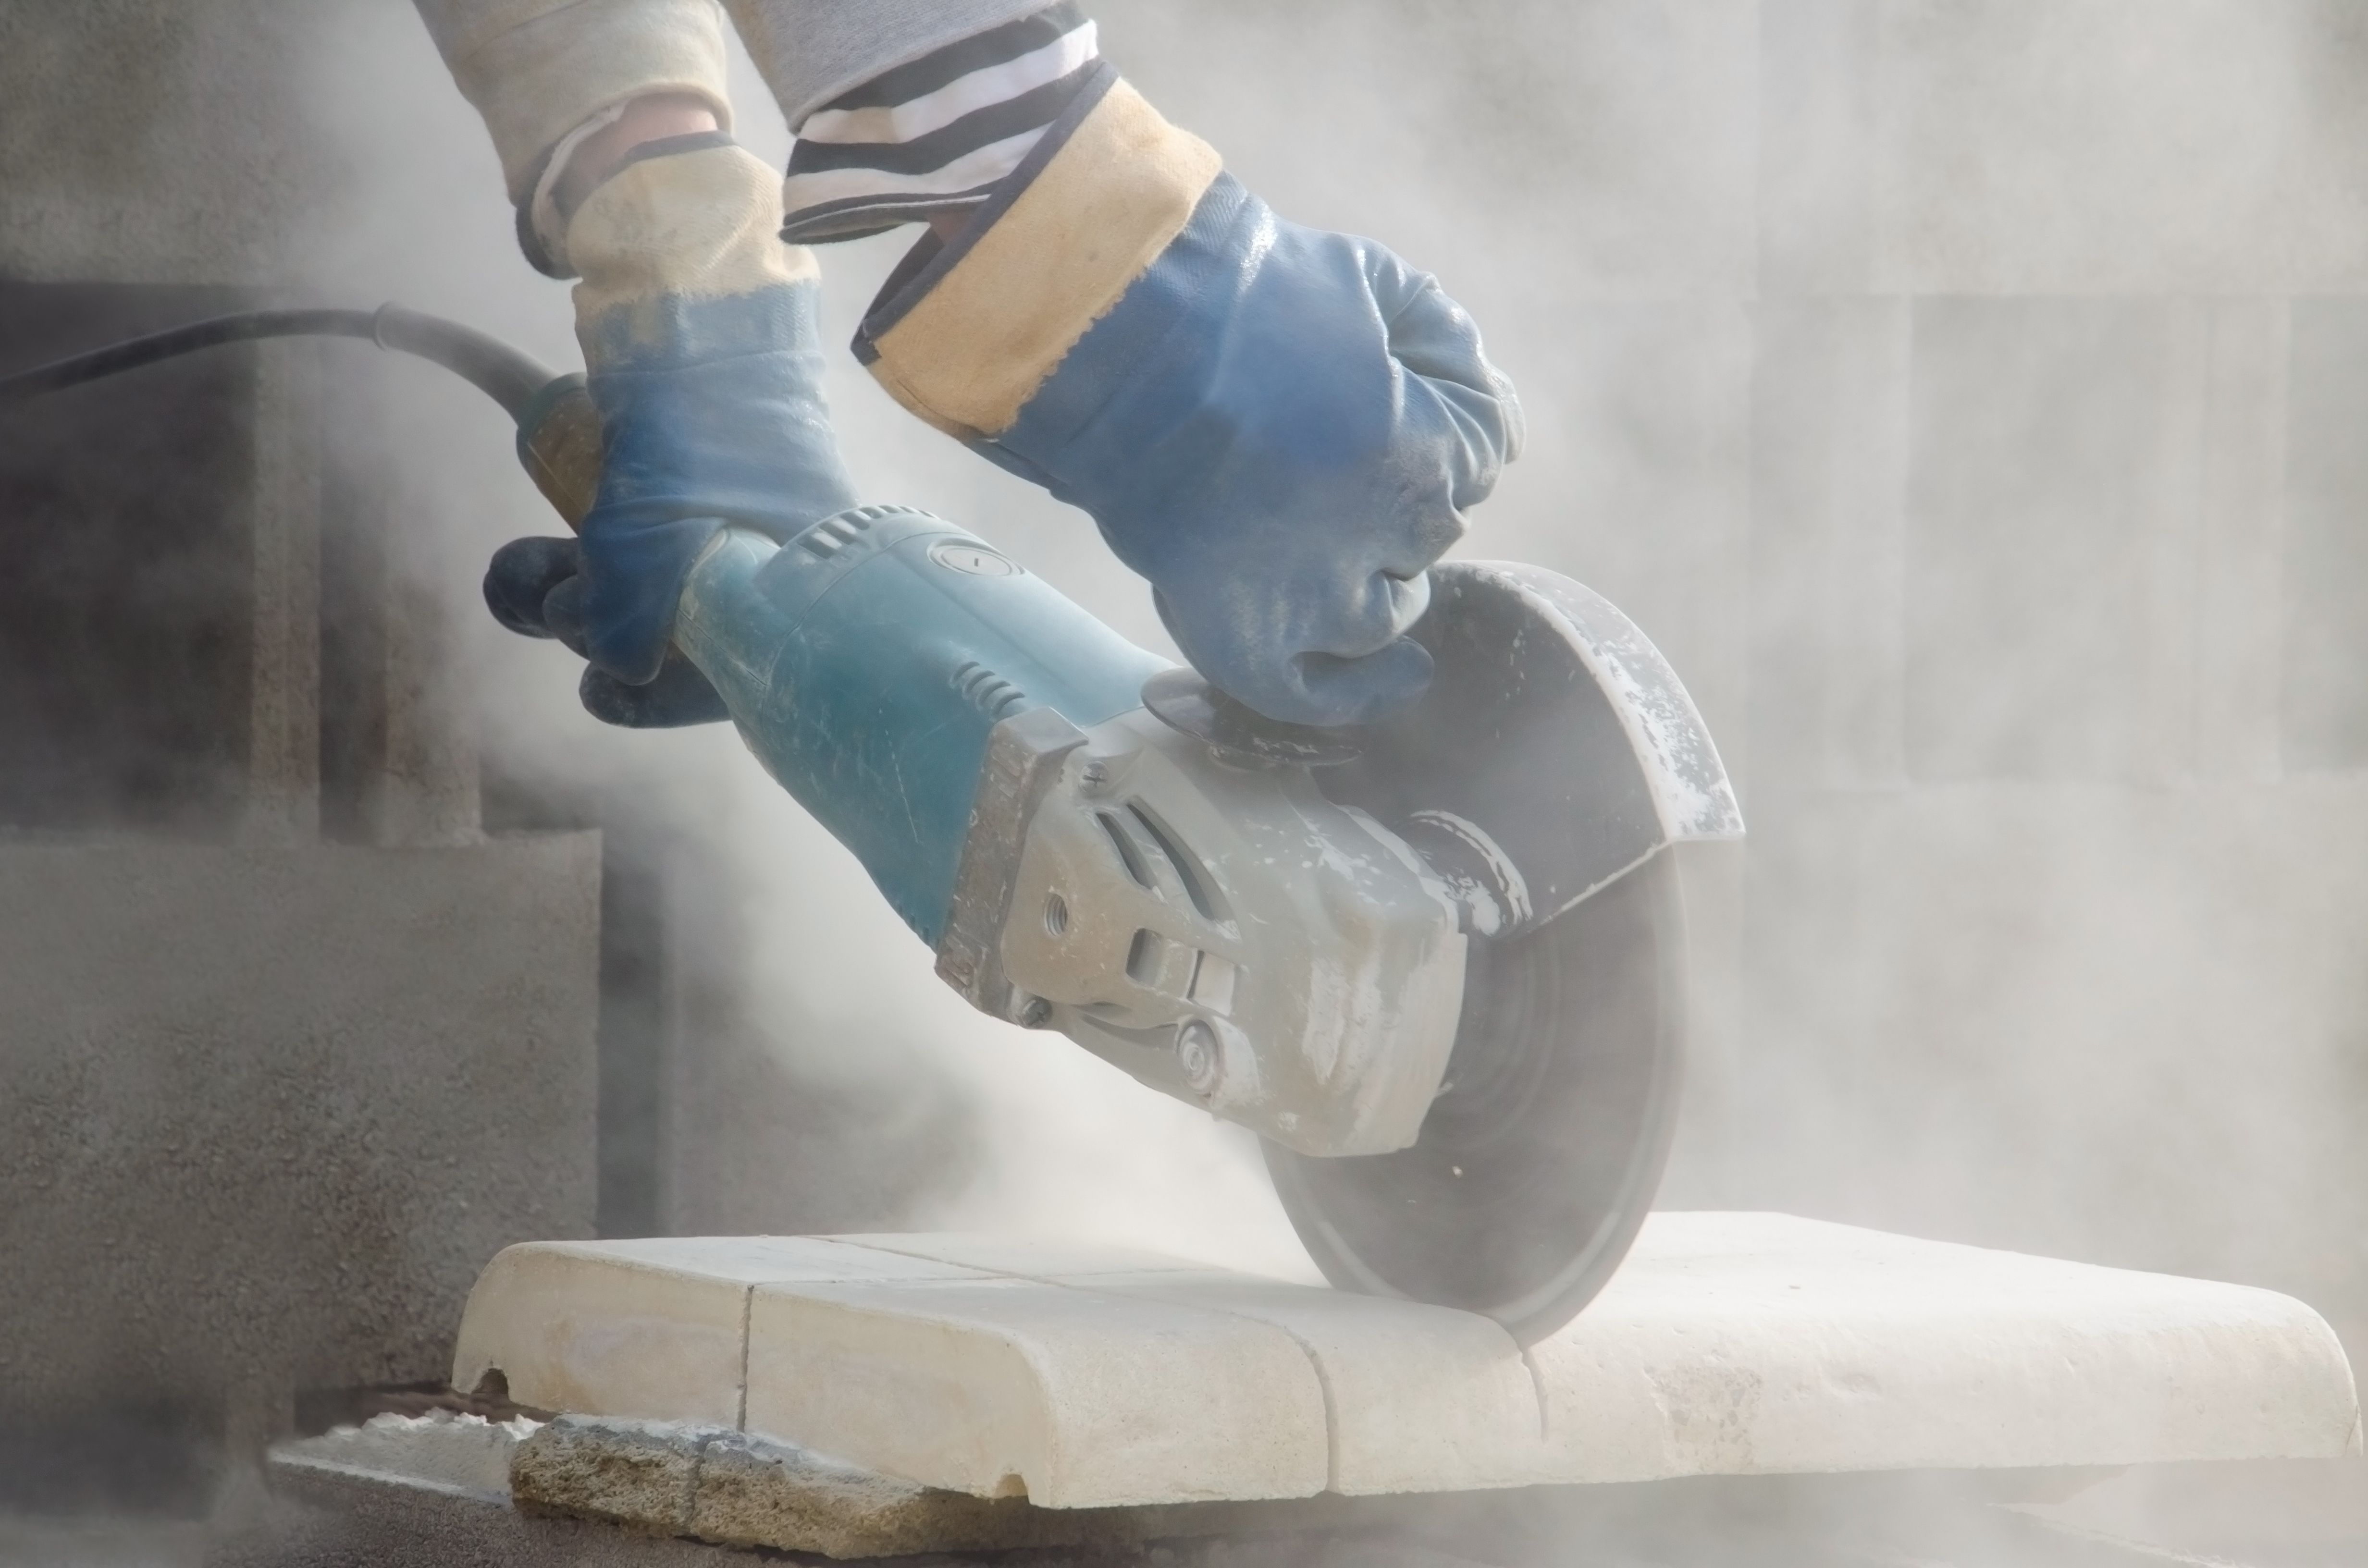
Using a circular saw with a diamond blade, carefully cut the stone according to your measurements. Ensure you wear safety gear to protect yourself from dust and debris. Cutting stone requires precision and patience, so take your time to achieve clean cuts.
Preparing the Surface for Installation
Once your stone is cut to size, prepare the surface where it will be installed. Ensure that your cabinets or base are level and sturdy enough to support the weight of the stone. If necessary, reinforce them before proceeding.
Clean the surface thoroughly to remove any dust or debris that might interfere with the adhesive's bonding process. A clean surface ensures a strong bond between the stone and the base.
Installing Your Stone Countertop
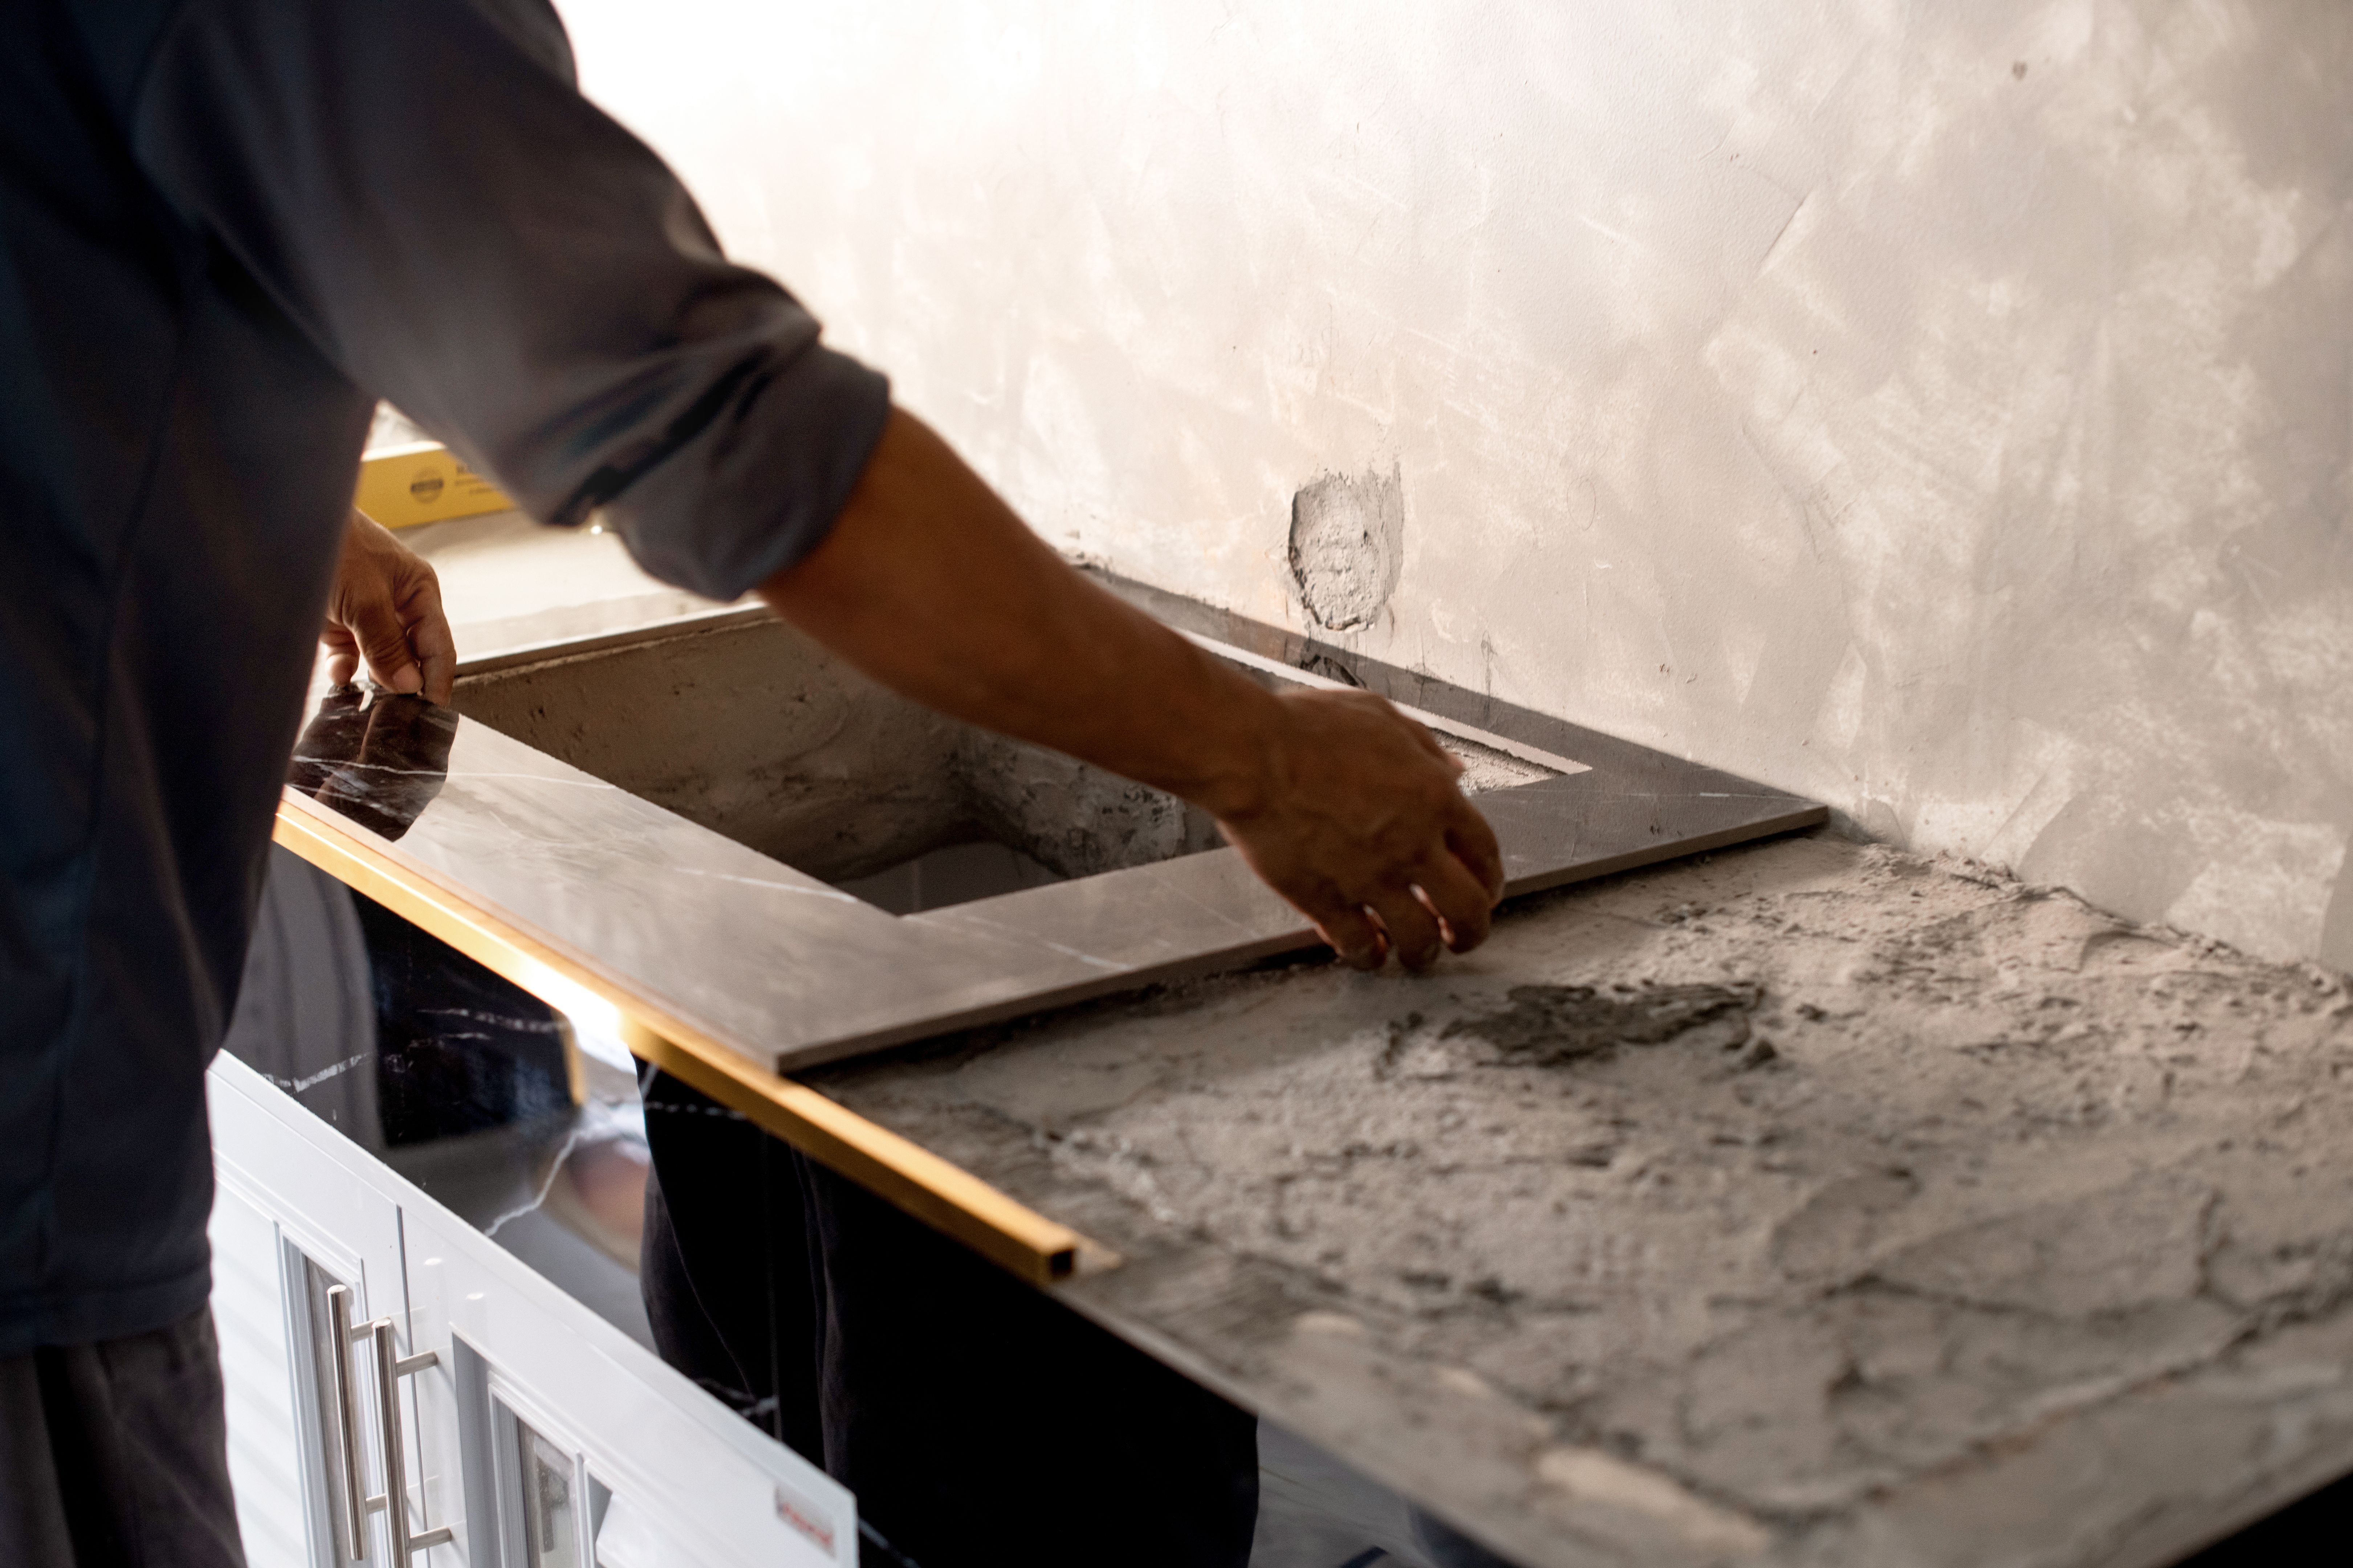
With everything prepared, it's time to install your stone countertop. Apply adhesive or epoxy evenly on the surface of your base. Carefully position the stone slab on top, ensuring it aligns properly with edges and cutouts.
Press down gently but firmly to secure the stone in place. Use a level to check that the countertop is even. Make any necessary adjustments before the adhesive sets.
Finishing Touches and Maintenance
After installation, allow adequate time for the adhesive to cure as per the manufacturer's instructions. Once cured, apply a sealer if necessary, particularly for porous stones like granite or marble, to protect against stains and spills.
To maintain your new countertop's beauty, clean it regularly with mild soap and water. Avoid harsh chemicals that could damage the stone's surface. For long-term care, reapply sealant as recommended by the manufacturer.
Troubleshooting Common Issues
If you encounter any issues like uneven surfaces or gaps between slabs, don't panic. Use additional adhesive or shims to level out discrepancies. Gaps can be filled with color-matched epoxy for a seamless look.
Remember that patience is key during installation. Taking extra time to address problems will ensure a professional-looking finish.
Enjoying Your New Space
Congratulations on completing your DIY stone countertop installation! Not only have you enhanced the aesthetic appeal of your space, but you’ve also increased its functionality and value.
Enjoy entertaining guests or simply spending time in your newly upgraded kitchen or bathroom, knowing that you accomplished this project with your own hands.