
DIY Installation of Stone Countertops: What You Need to Know


Understanding the Basics of Stone Countertops
Stone countertops, whether granite, marble, or quartz, can add a touch of elegance and durability to any kitchen or bathroom. While professional installation is often recommended, a DIY approach can be a rewarding project for those with the right skills and tools. Before embarking on this journey, it's essential to understand the materials you're working with and the steps involved in the installation process.

Choosing the Right Stone
The first step in your DIY project is selecting the right type of stone for your needs. Granite and quartz are popular choices due to their durability and low maintenance requirements. Marble, while stunning, is more prone to scratches and stains. Consider factors such as color, pattern, and thickness when making your selection. It's also crucial to purchase slightly more material than needed to account for any errors or future repairs.
Preparing for Installation
Once you've chosen your stone, preparation is key to a successful installation. Start by measuring your space accurately. Double-check measurements to ensure you purchase the correct amount of material. Next, gather all necessary tools, including a circular saw with a diamond blade, safety goggles, gloves, measuring tape, and adhesive. Preparing a clean and organized workspace will also streamline the installation process.
Removing Old Countertops
Before installing your new stone countertops, you'll need to remove the old surfaces. Carefully detach any existing countertops while ensuring not to damage the cabinets or surrounding areas. Use a pry bar and screwdriver to disconnect the countertops from cabinets and appliances. Once removed, inspect the cabinets to ensure they are level and sturdy enough to support the weight of stone countertops.
Installing Your Stone Countertops
With your space prepared, it's time to install your new countertops. Begin by placing the stone slabs onto the cabinets to check the fit. Make any necessary cuts using a circular saw with a diamond blade. It's wise to have someone assist you with lifting and positioning the heavy slabs. Once satisfied with the fit, apply adhesive to the cabinet tops and carefully set the stone in place.
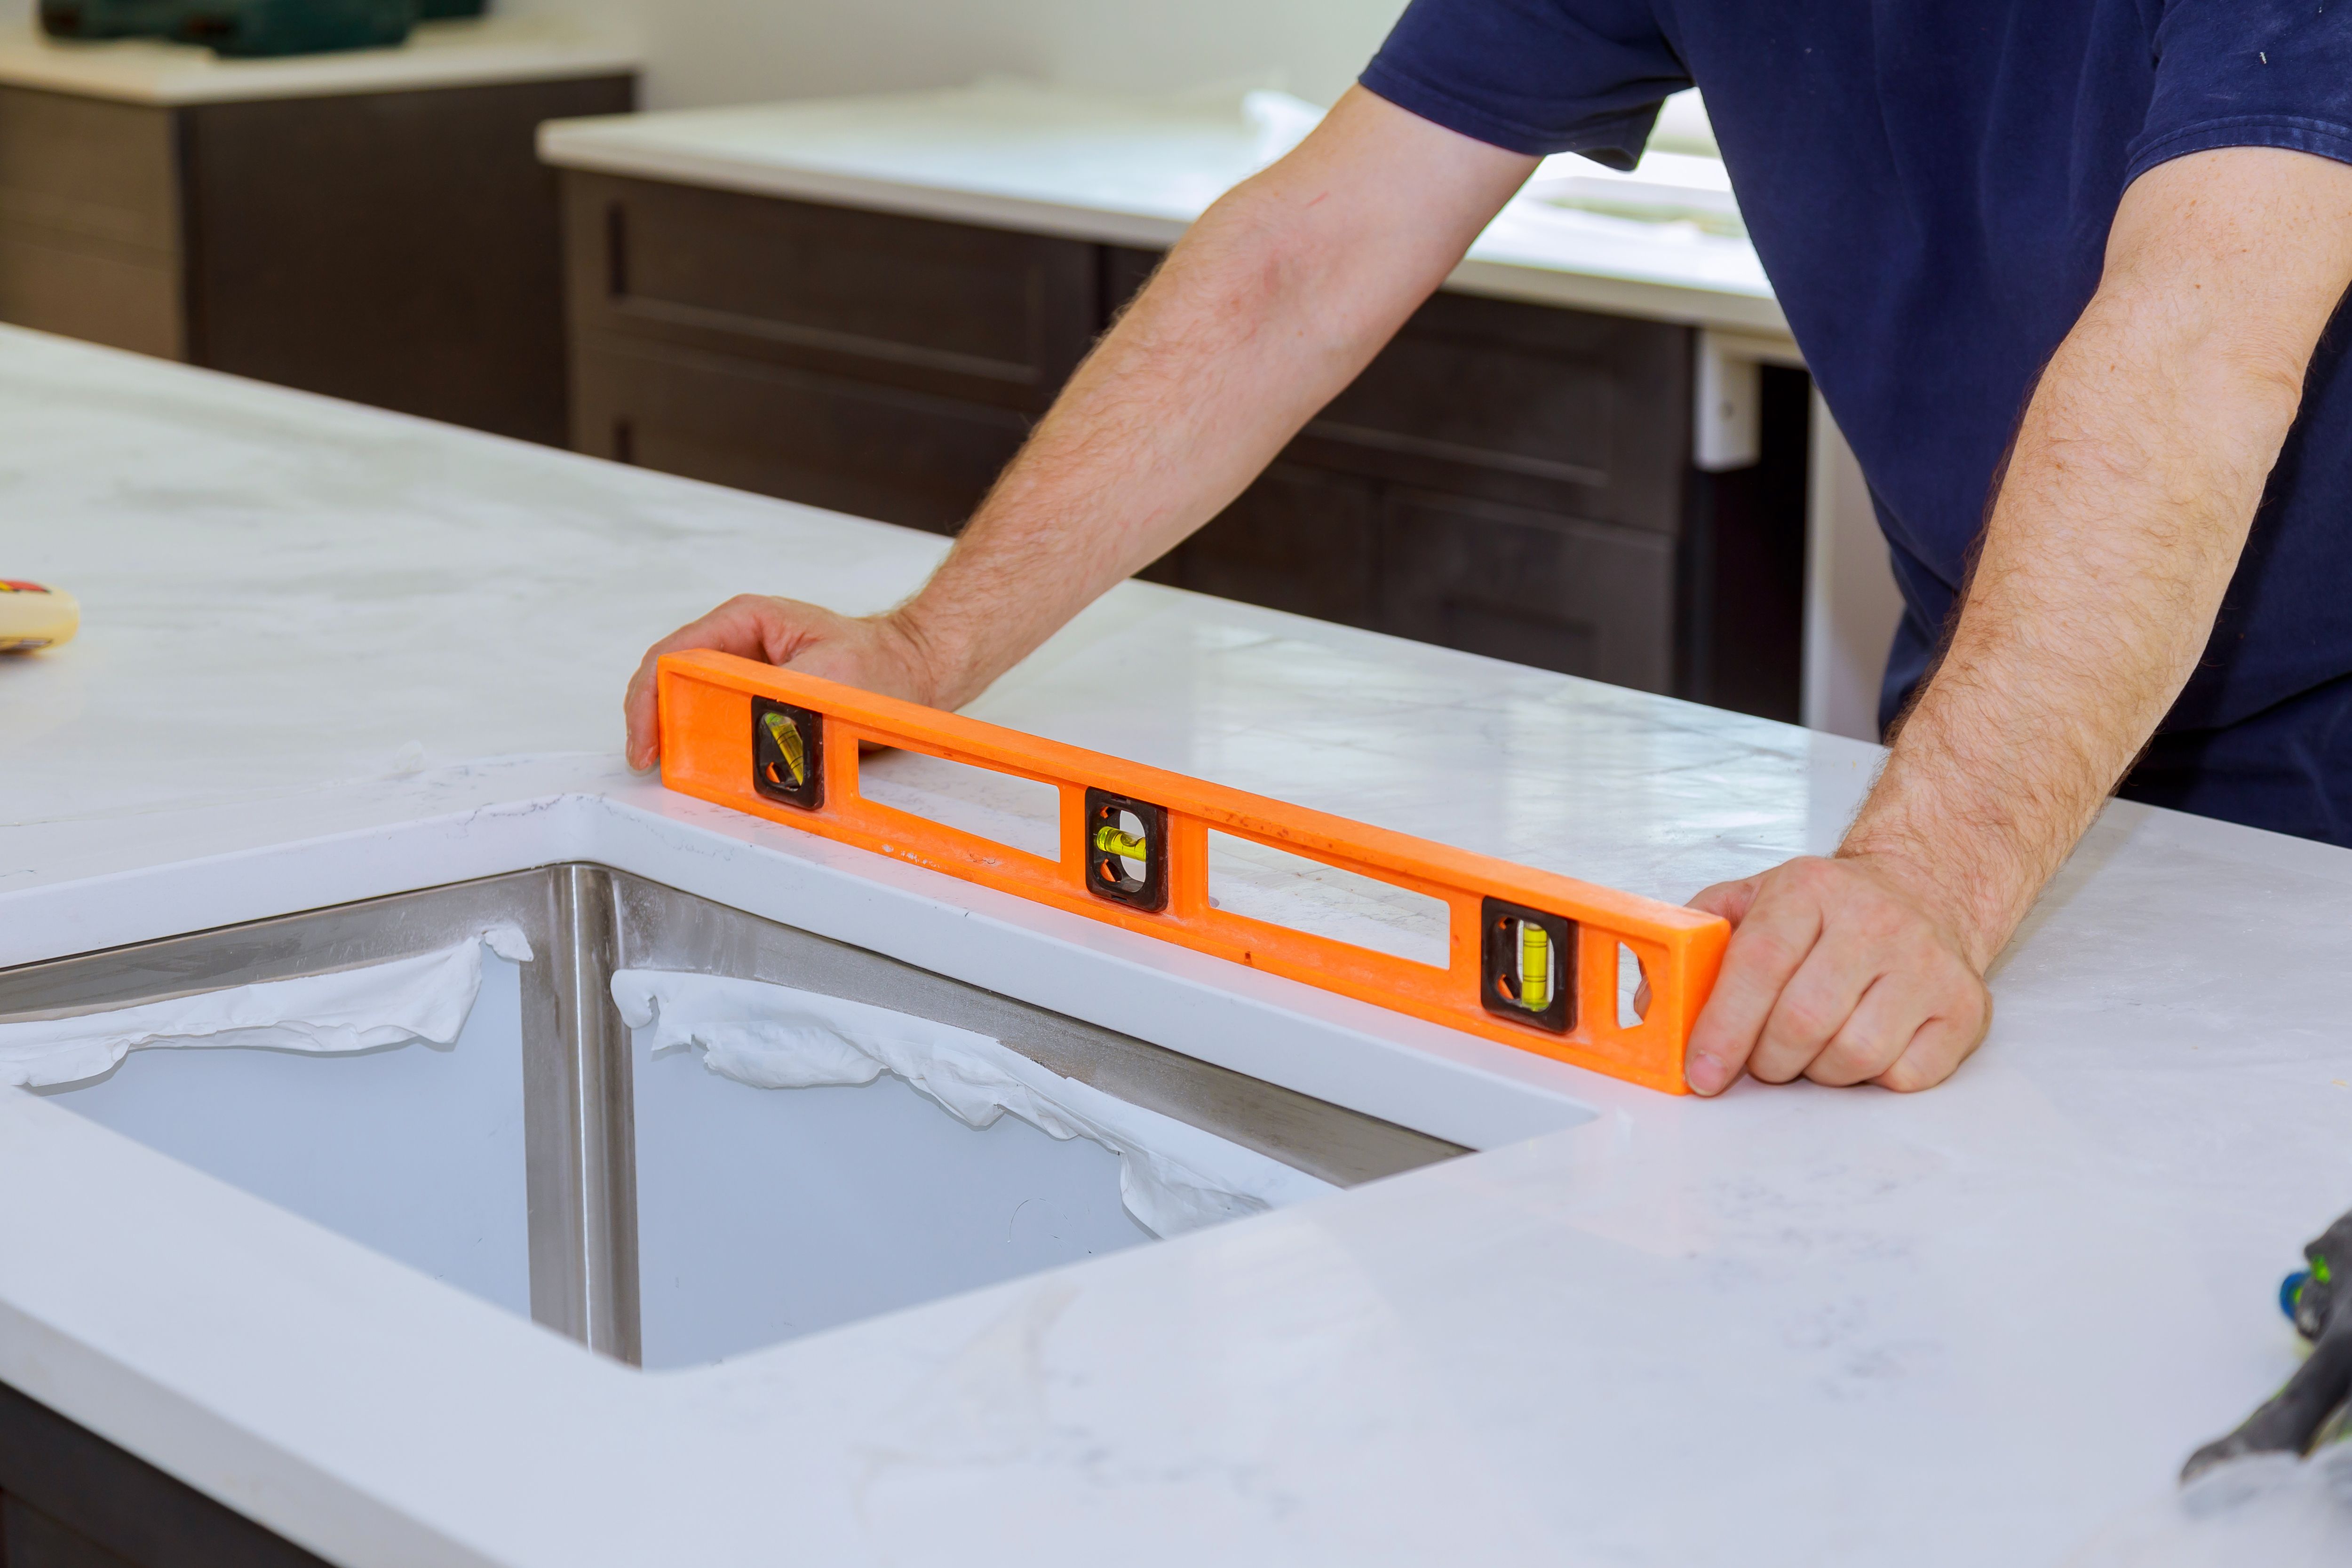
Finishing Touches
After securing the countertops, focus on finishing touches to enhance their appearance and functionality. Seal the stone surface to protect it from stains and moisture. Depending on the type of stone, you may need to reapply the sealant periodically. Additionally, install backsplashes, sinks, or faucets as needed to complete your project.
Maintenance Tips
Maintaining your new stone countertops is vital for preserving their beauty and durability. Regularly clean surfaces with a mild detergent and soft cloth to prevent scratches. Avoid harsh chemicals that can damage the sealant or stone itself. With proper care, your DIY-installed stone countertops can remain a stunning centerpiece in your home for years to come.
By taking on this DIY project, you not only enhance your home's aesthetic but also gain valuable skills and a sense of accomplishment. With careful planning, preparation, and execution, you can successfully install stone countertops that will be both functional and beautiful.